DIY Strawberry Costumes for the Whole Family
If you want to get a little creative, try one of these DIY strawberry costume tutorials.
Oct 02, 2017
Strawberry Costume DIY for Kids
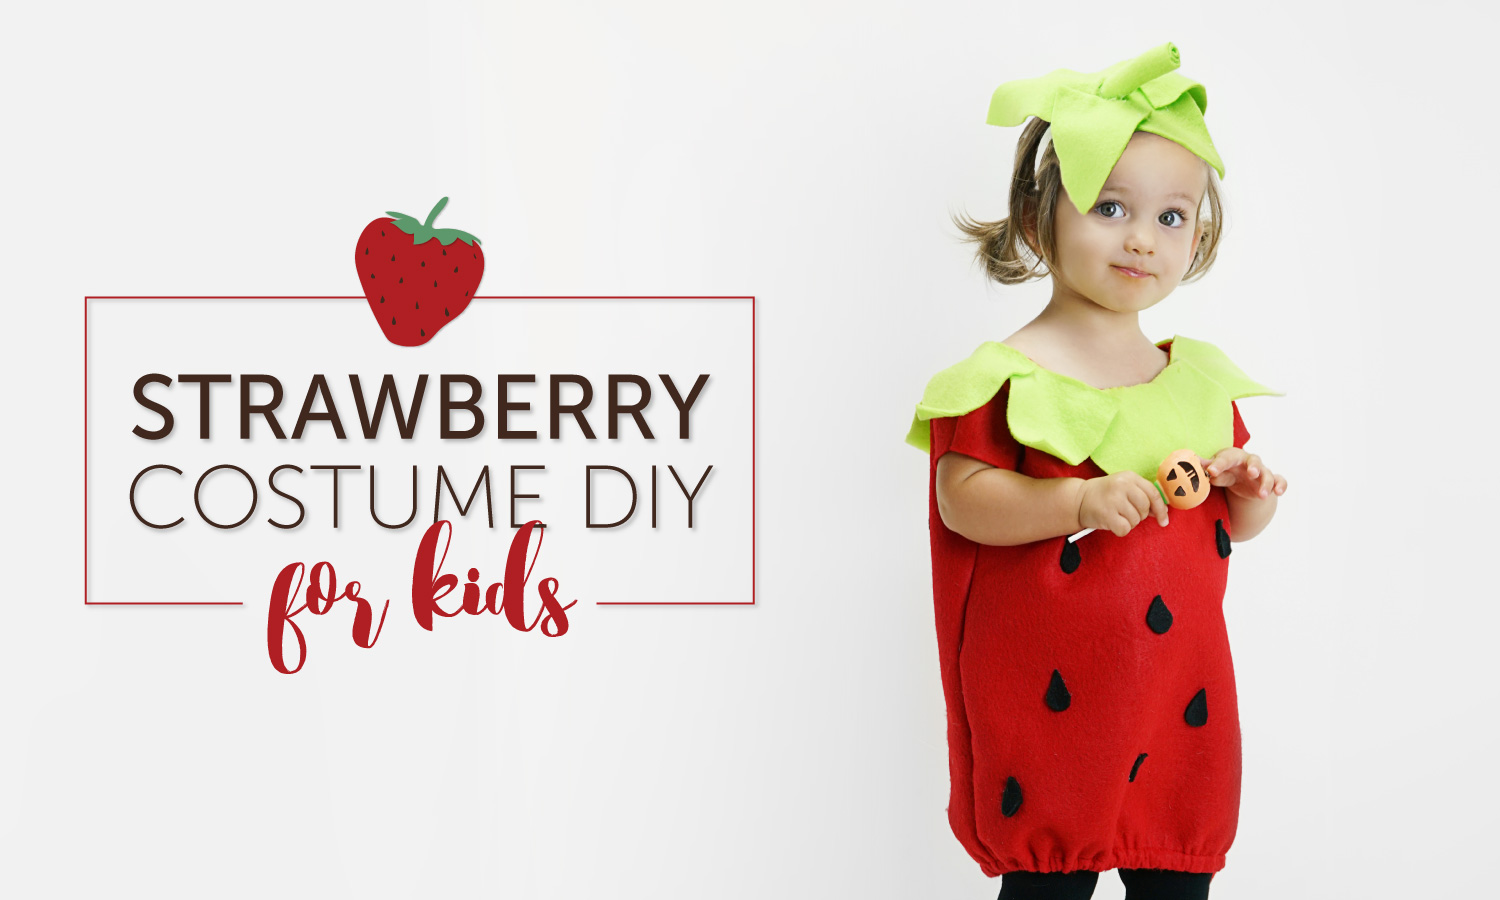
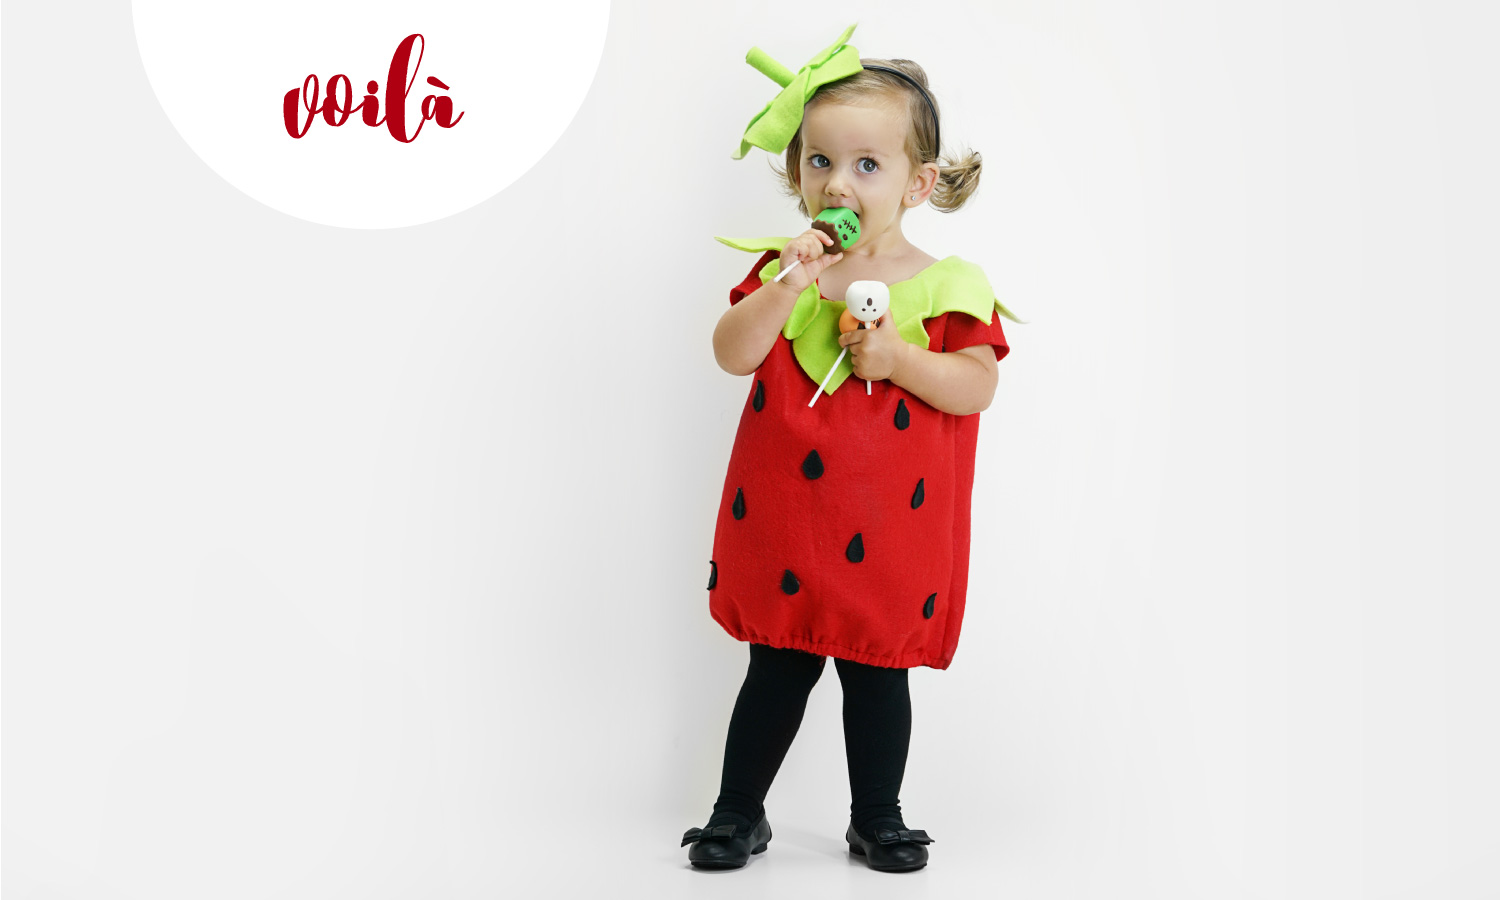
This poofy costume is a fun one, and can even be adapted to fit big kids (or adults) if you’re trying to make strawberry costumes for the whole family. The elastic at the bottom gives it its round shape. Wear tights and a long sleeve shirt under it to make this costume fall-friendly.
Materials
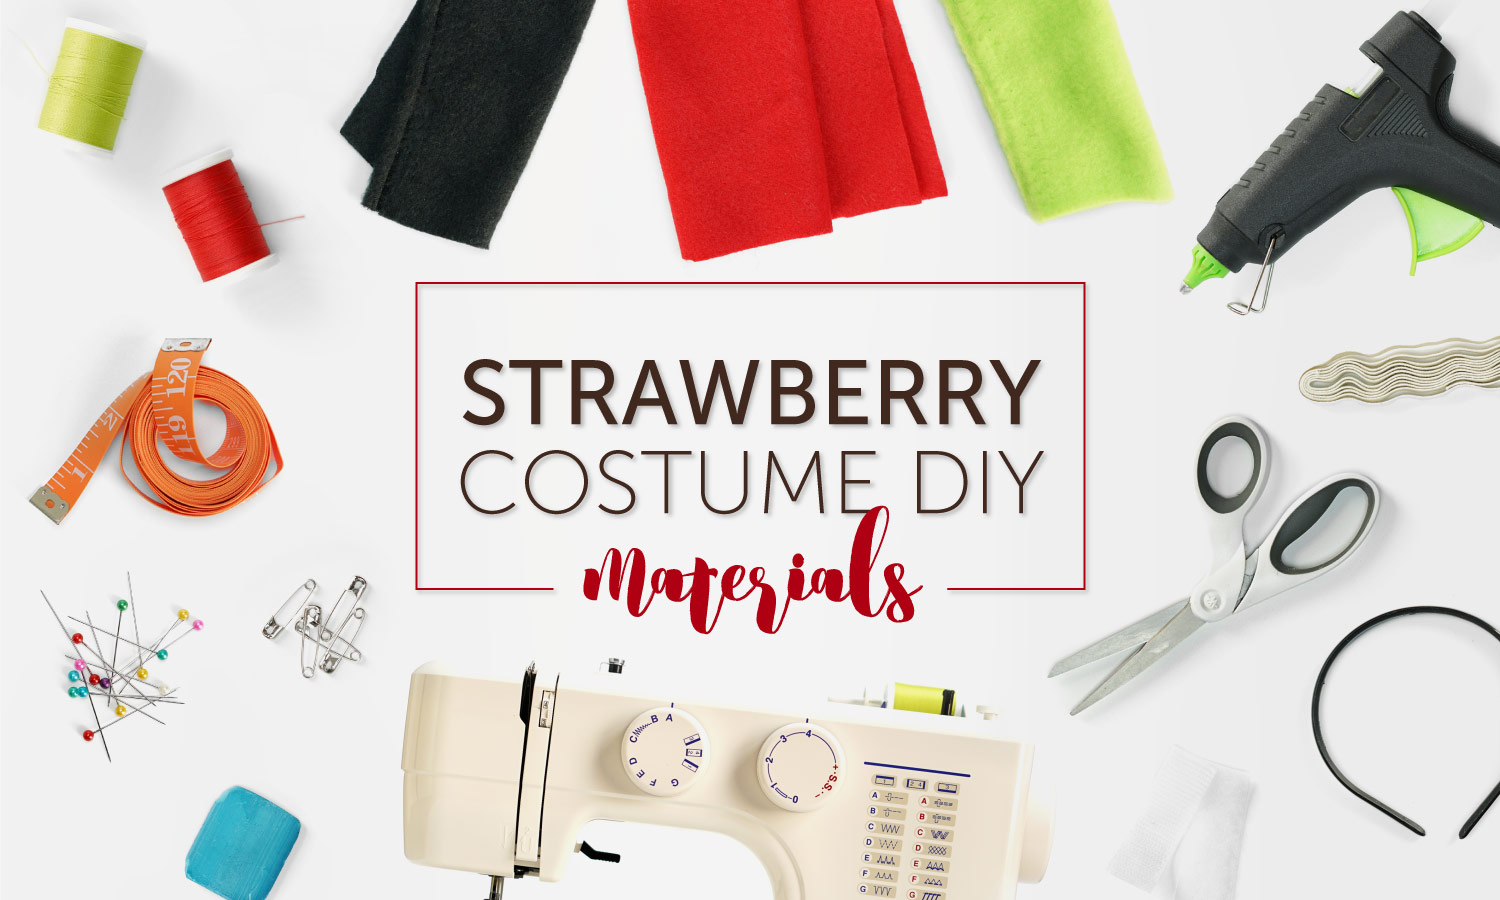
- Red thread
- Green thread
- Red felt
- Bright green felt or fleece
- Black felt or fleece
- ⅜ inch elastic
- Fabric scissors
- Sewing machine
- Hot glue
- Pins
- Measuring tape
- Safety pin
- Sewing chalk
Pattern
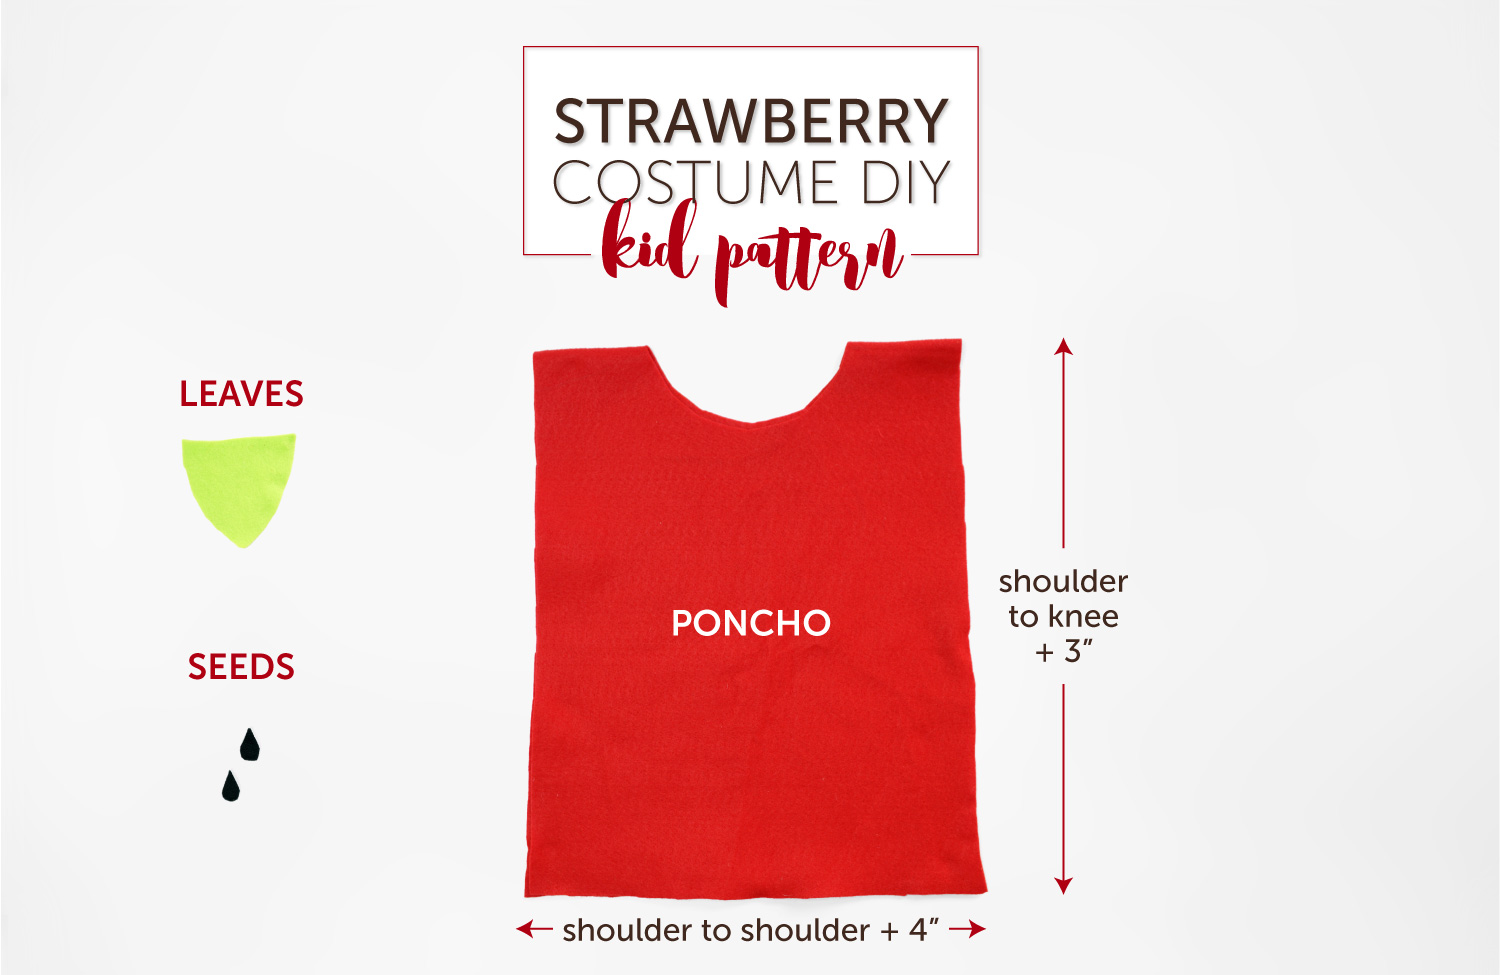
Body piece
Height: Measure top of shoulder to knee (or wherever you want the costume to fall). Add two to three inches for seam allowance and bottom hem.
Width: Measure from shoulder to shoulder. Add one inch for seam allowance and two to four more inches if you’d like the costume to be a bit wider than the shoulders.
Measure shoulder to shoulder, top of shoulder to knee and top of shoulder to armpit. These measurements will inform the primary dimensions of the body piece.
Directions
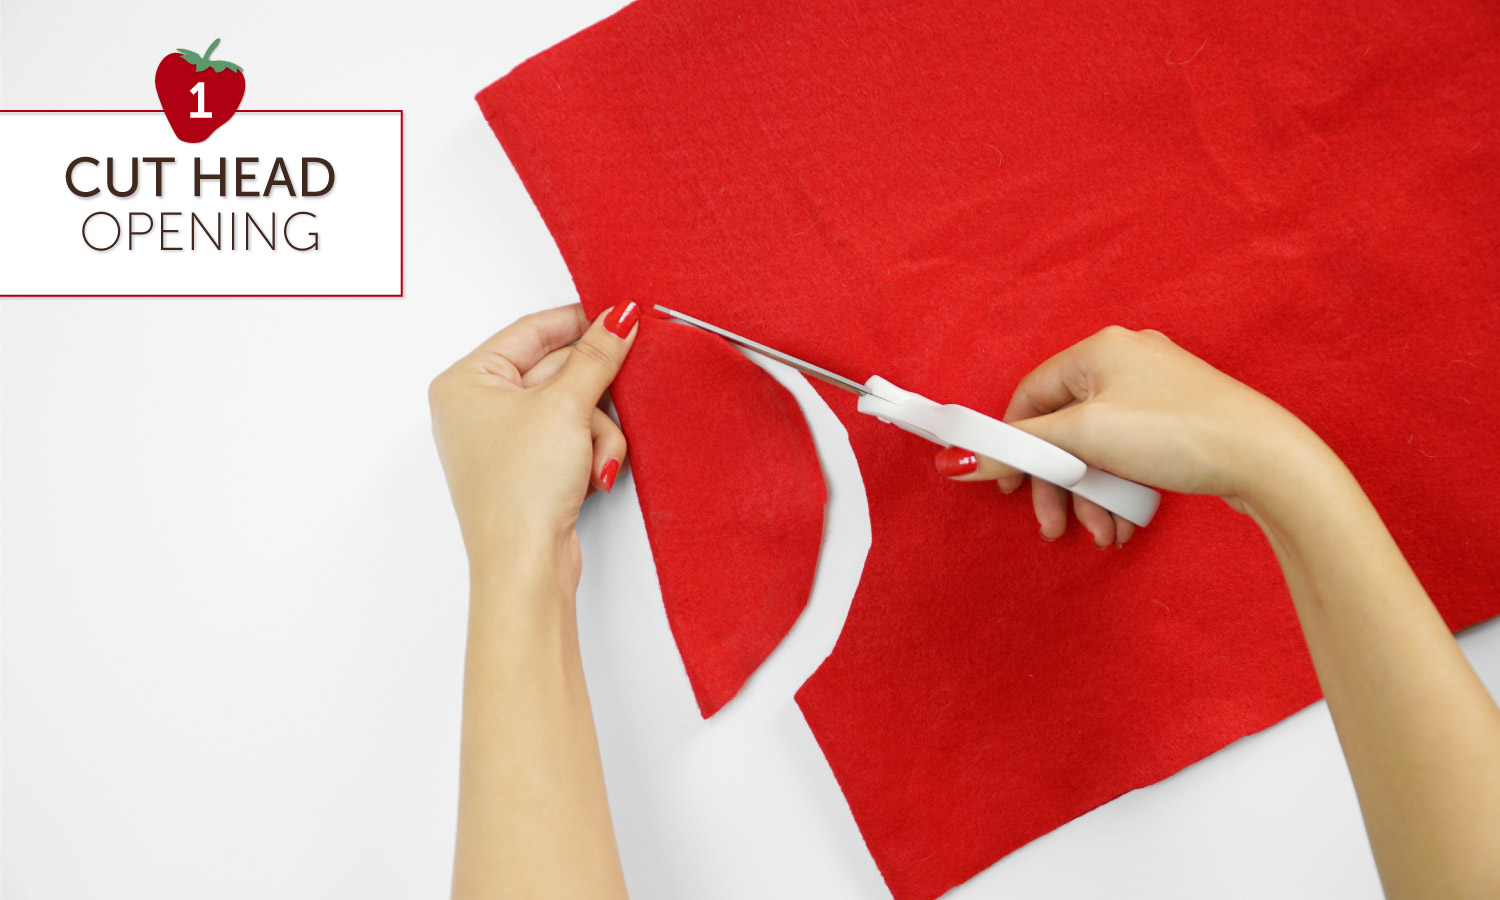
Step 1: Cut head opening.
Fold body piece in half and cut a semicircle in the center of the fold. This will be the head opening. If you’re unsure how large to make the head opening, measure the distance around the child’s head, divide by 3.14 to find the circumference -- the length you’ll mark along the fold.
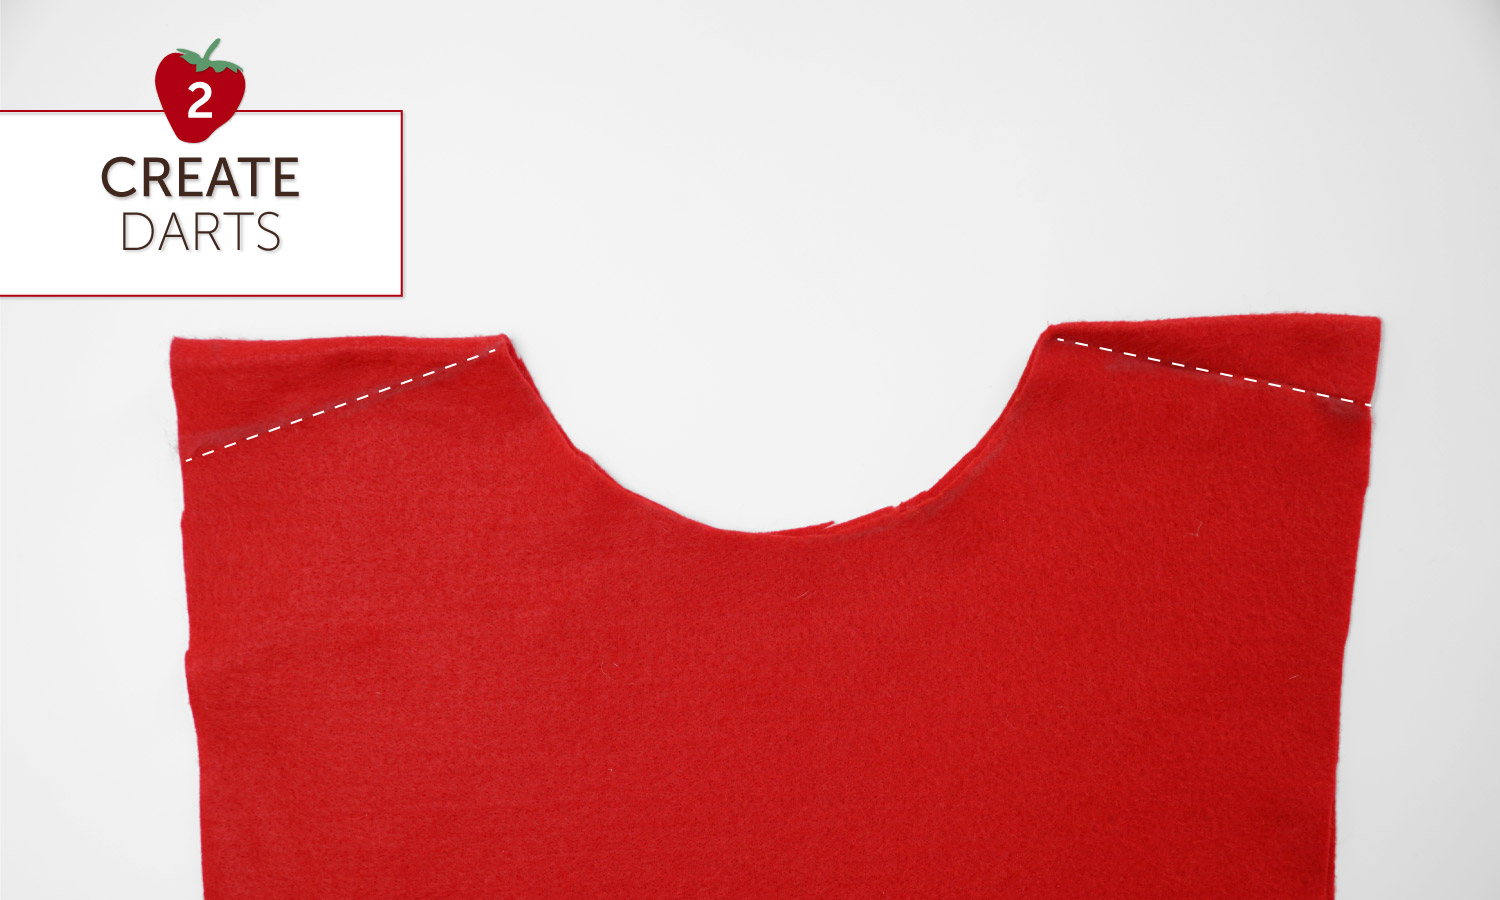
Step 2: Create darts.
While the body piece is still folded in half, measure around two inches down on each of the top corners (adjacent to the head opening). Create two diagonal lines from each side of the head opening down to the points you marked. Sew along these lines, right sides facing in.
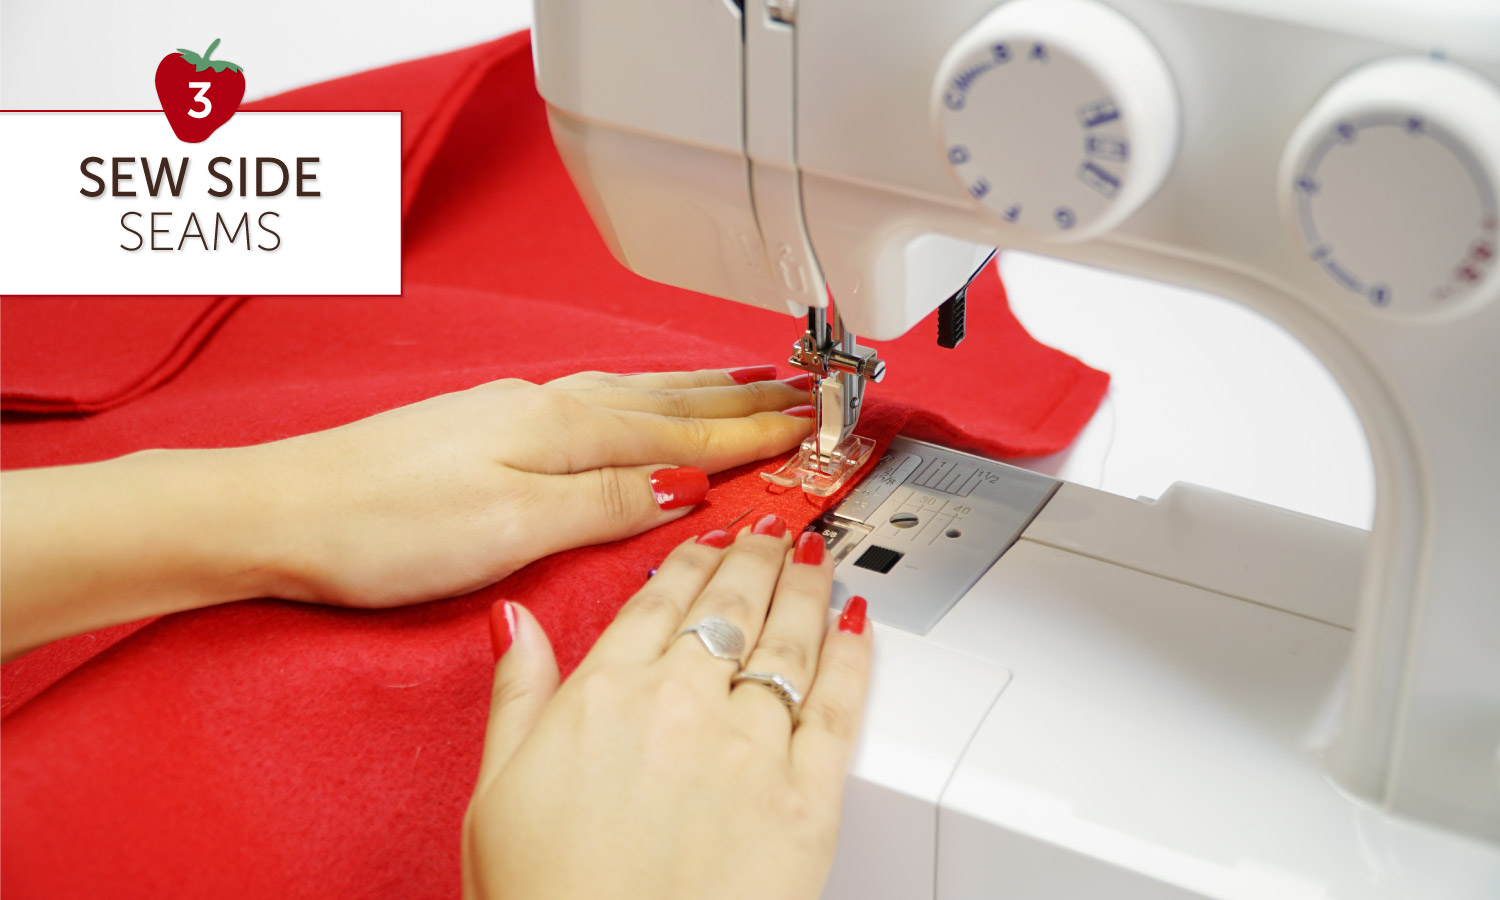
Step 3: Sew side seams.
Measure top of shoulder to armpit. Add two inches to this measurement. Using this number, measure from where the dart ends down however many inches you just determined. Mark this point, and sew the side seams from there to the bottom of the fabric using a ½ inch seam.
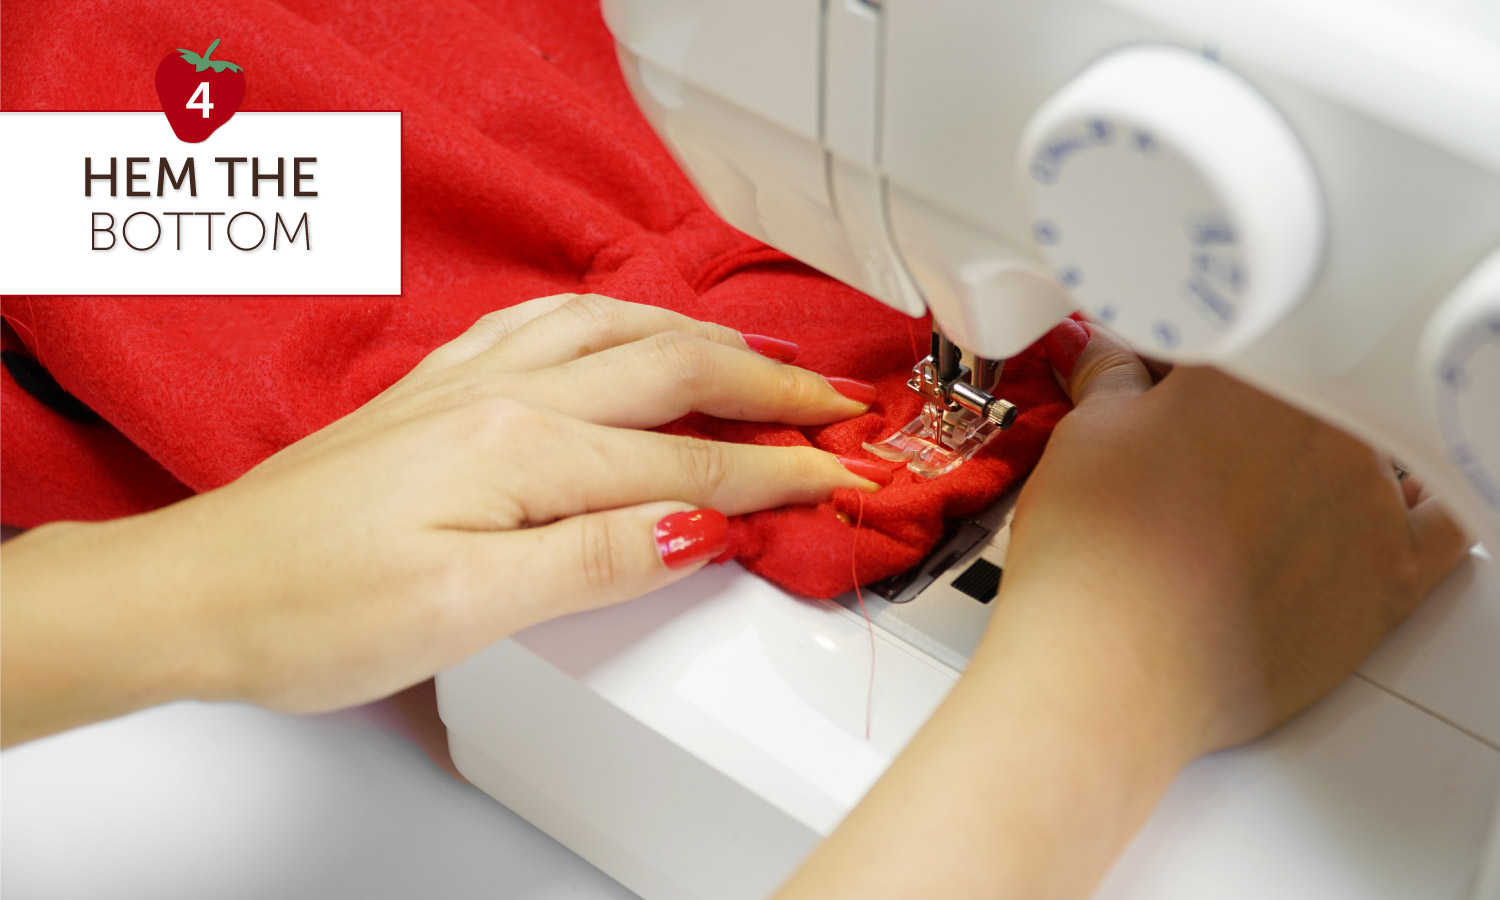
Step 4: Hem the bottom.
Fold the bottom of the fabric up one inch all around and sew leaving a two inch opening in the hem. This is where you'll insert your elastic.
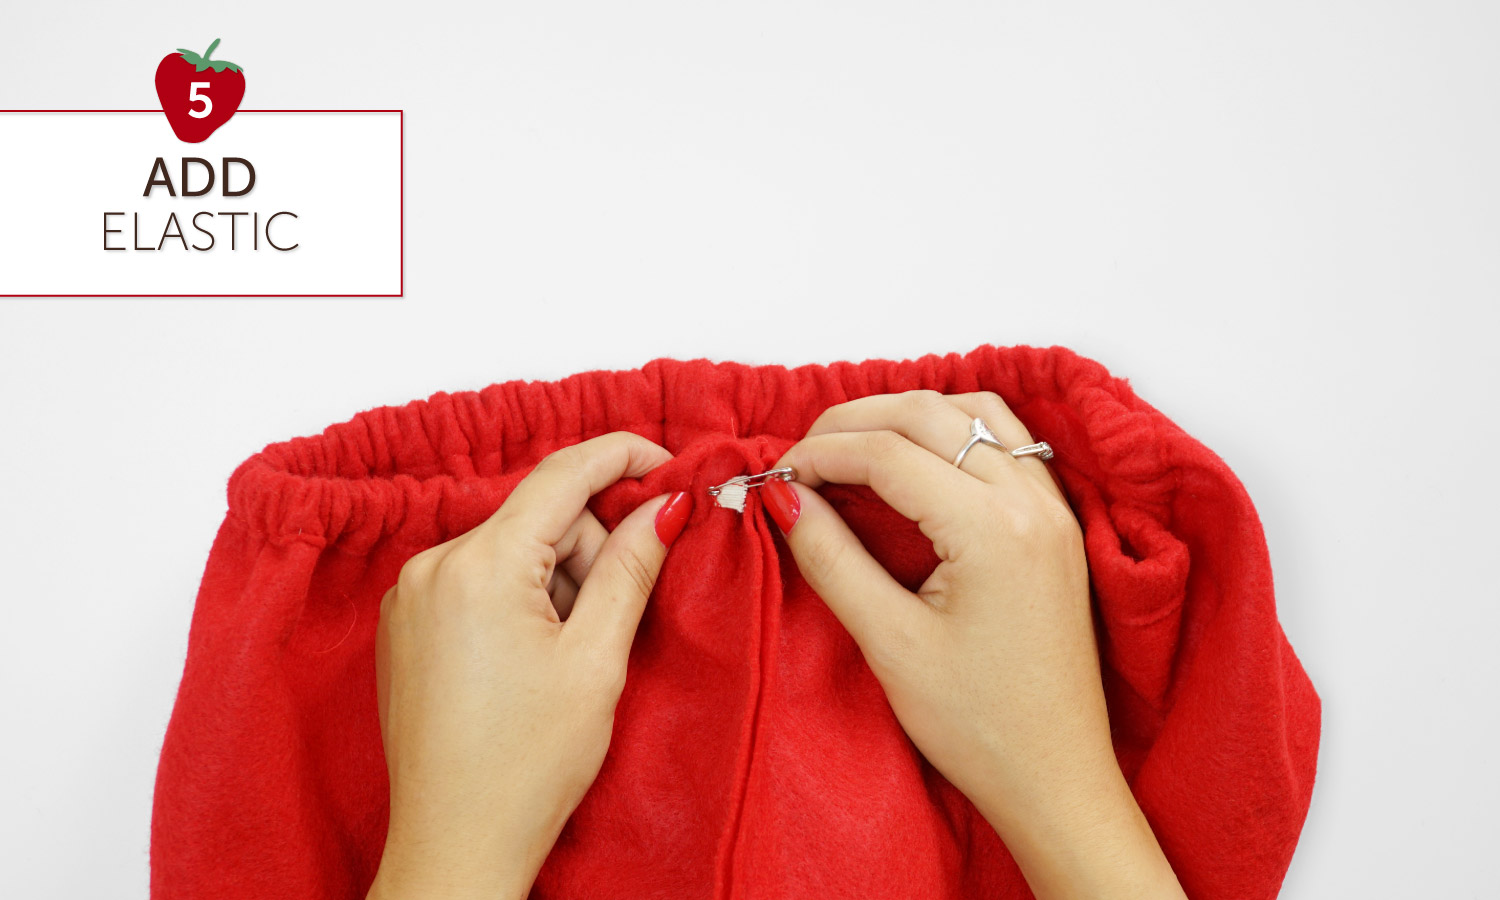
Step 5: Add the elastic.
Cut a piece of elastic 3/4 of the width of your fabric. Insert your elastic using a safety pin. Sew both sides of the elastic together and try on for size. Make any adjustments needed.
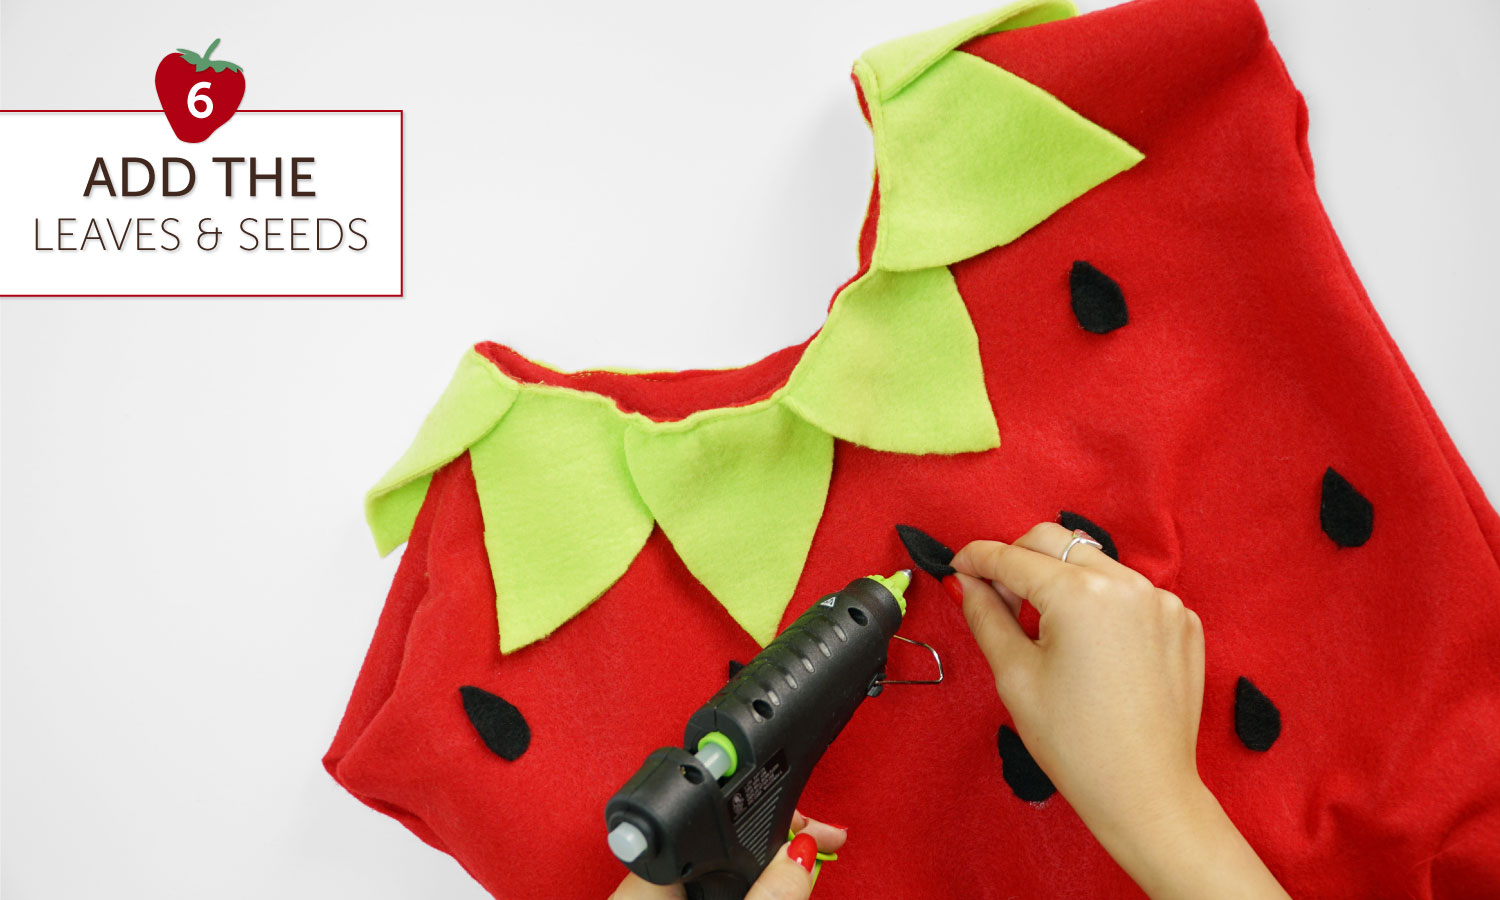
Step 6: Add leaves and seeds.
Hot glue or sew leaves around the neckline. Glue on seeds.
Strawberry Costume DIY for Women
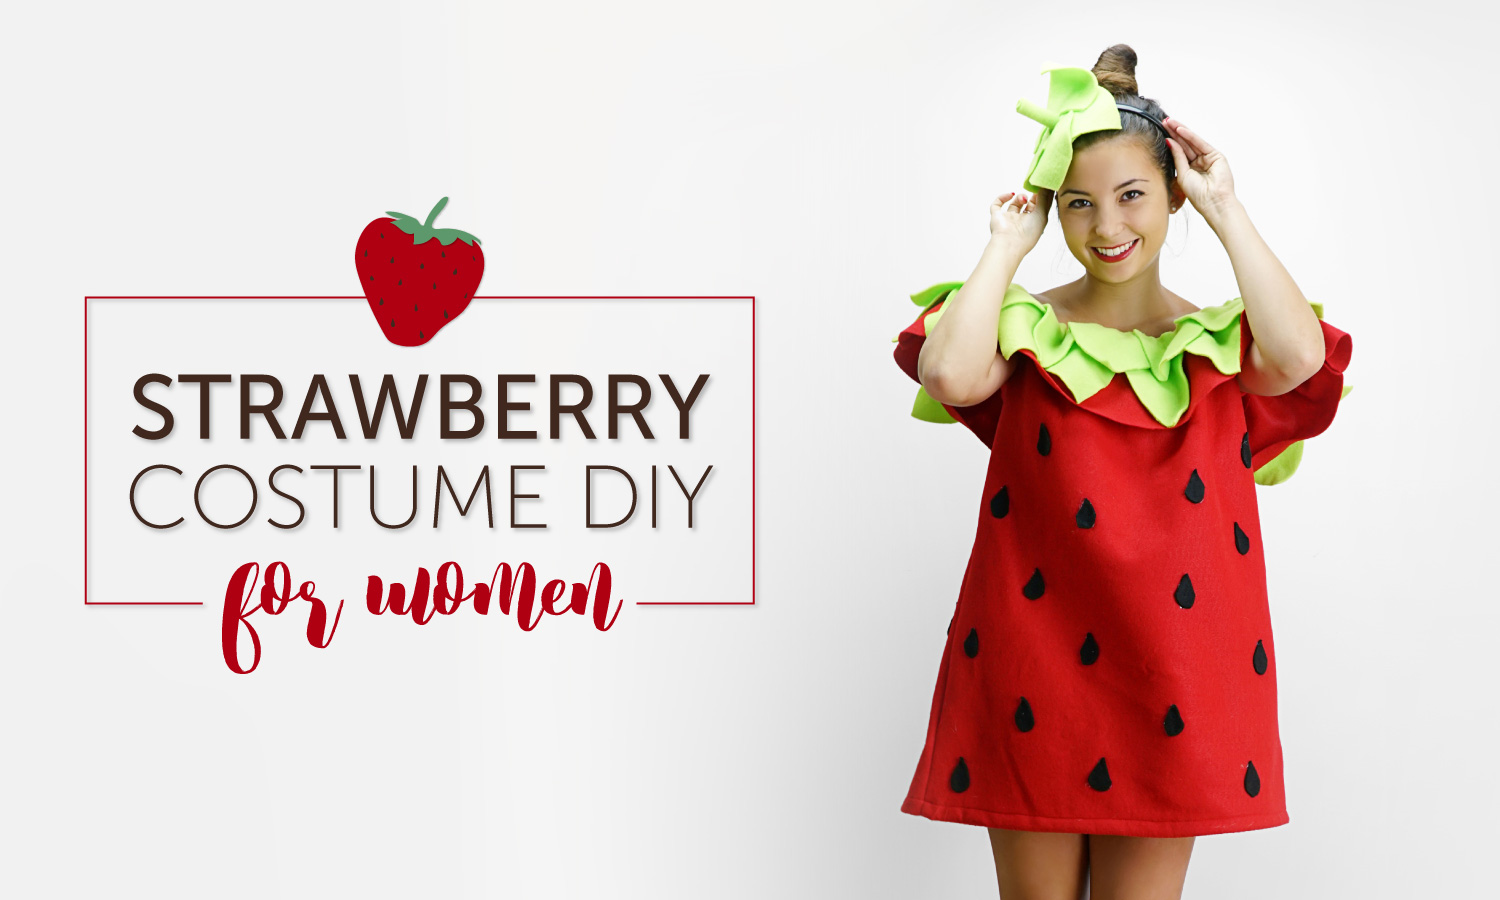
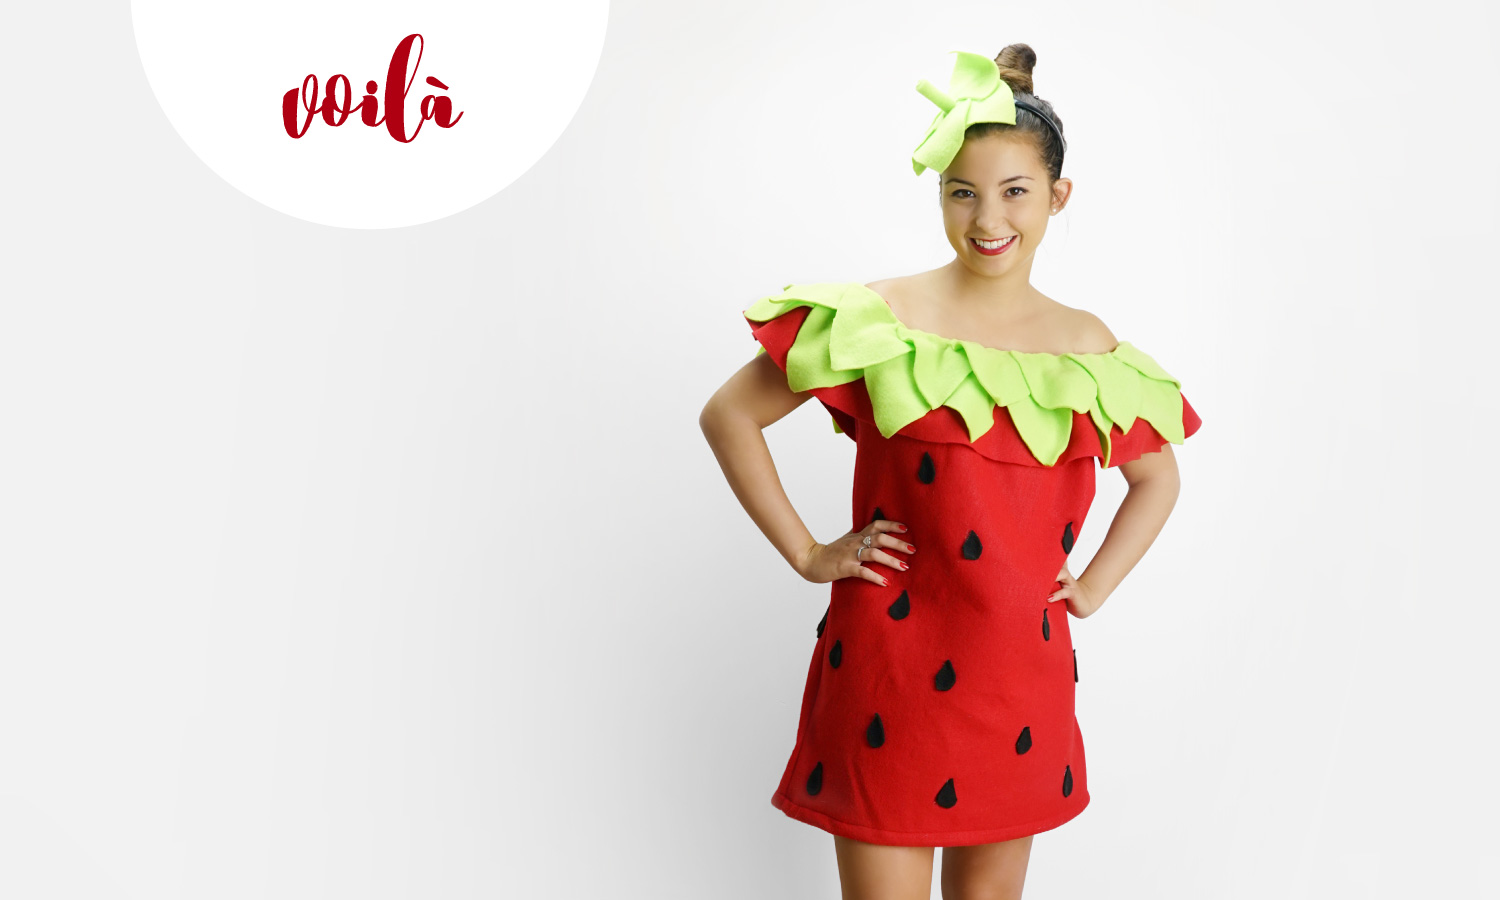
If you want your strawberry costume to have a bit more pizazz, try this off-the-shoulder dress option adapted from Megan Nielsen’s pattern. Need two costumes? This dress can also double as the dancing woman emoji before you add the leaves and seeds!
Materials
- Red thread
- Green thread
- Red felt
- Bright green felt or fleece
- Black felt or fleece
- ⅜ inch elastic
- Measuring tape
- Scissors
- Sewing machine
- Safety pin
- Tailor’s chalk
- Glue Gun
- Pins
Pattern
Body pieces
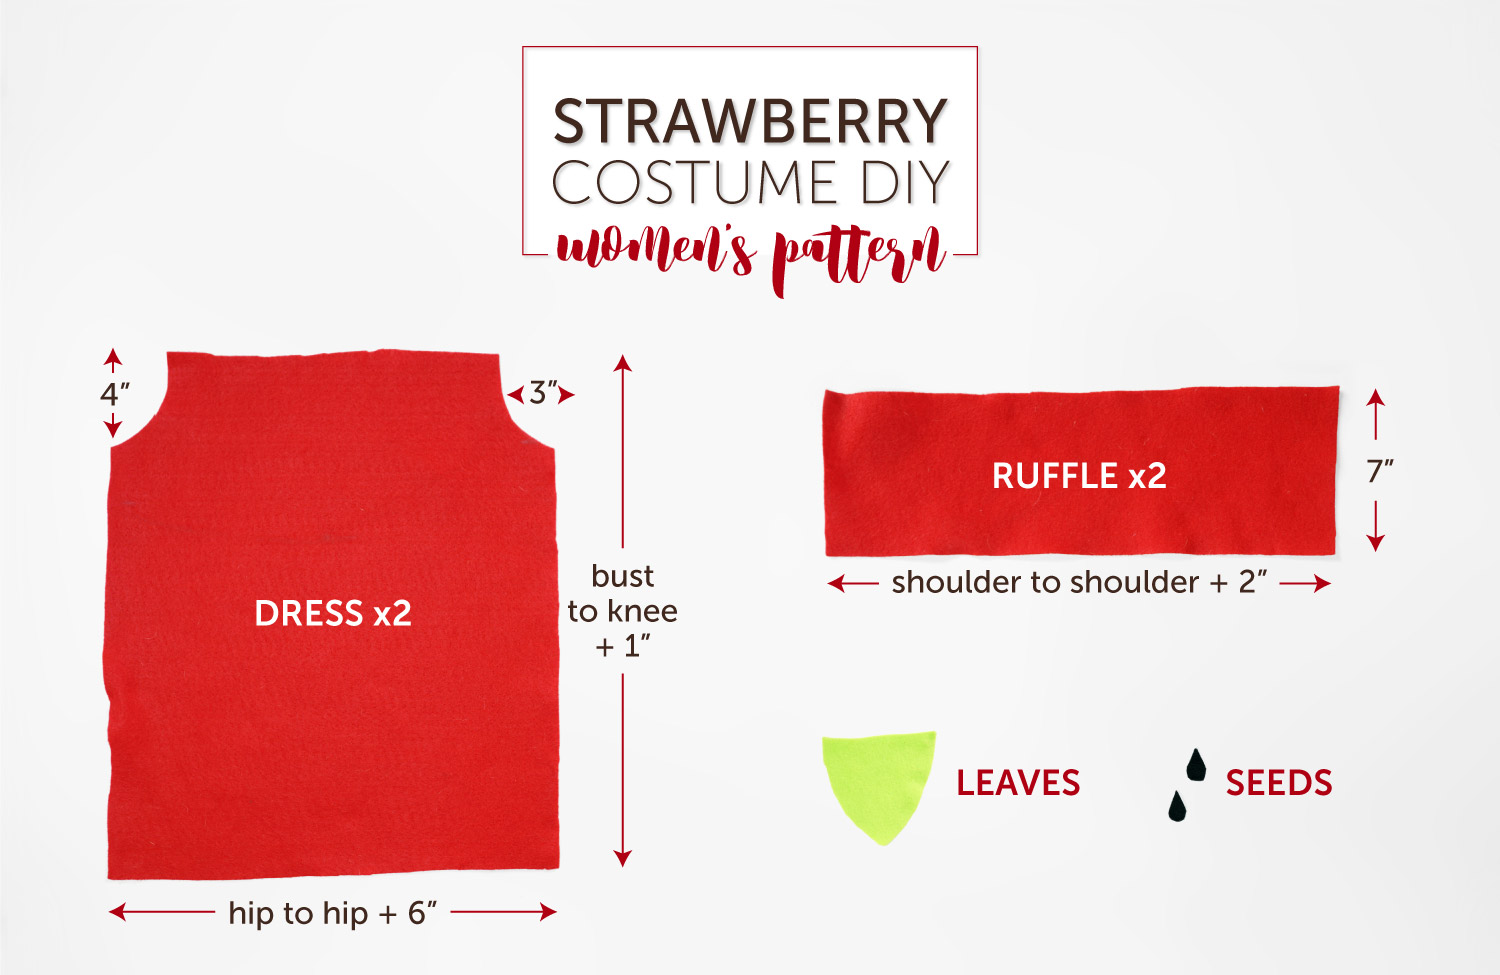
Height: Measure from above your bust to where you want the bottom of the dress to fall. Add one inch for the hem.
Width: Measure from hip to hip and add six inches, keeping in mind that one inch is for seam allowance. If you’d like the dress to be wider and slightly more poofy, you can add more than six inches. Keep in mind, it’s easy to take in the dress later, so if in doubt make the pattern slightly bigger at first.
Use the width and height you just found to cut two rectangular body pieces. Create arm holes by measuring four inches down and three inches inwards from the top corners. Mark these two points and cut out a semi-circle that begins and ends at these points.
Ruffle
Height: The height of your ruffle is up to you. We made ours six inches and added one inch for seam allowance. You’ll glue your leaves to this piece, so if you want multiple layers of leaves it’s best to make the ruffle at least 6 inches wide.
Width: Measure around your shoulders. Each ruffle piece will be this wide.
Cut two pieces using the height and width you just found.
Directions
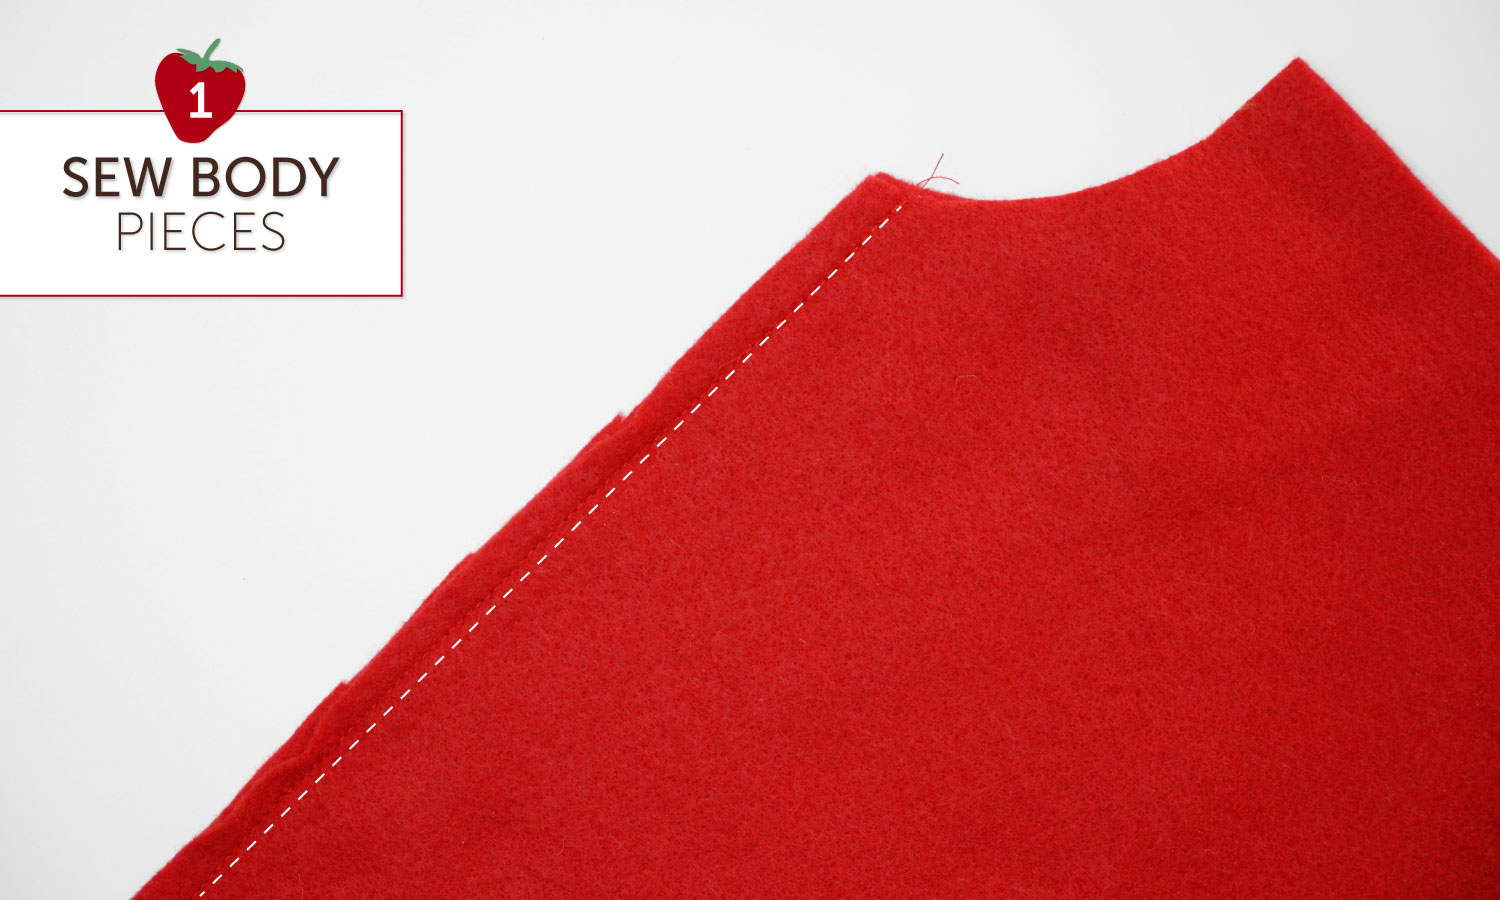
Step 1: Sew body pieces together.
Sew the two body pieces together along the sides, right sides facing in. Use a ½ inch seam allowance.
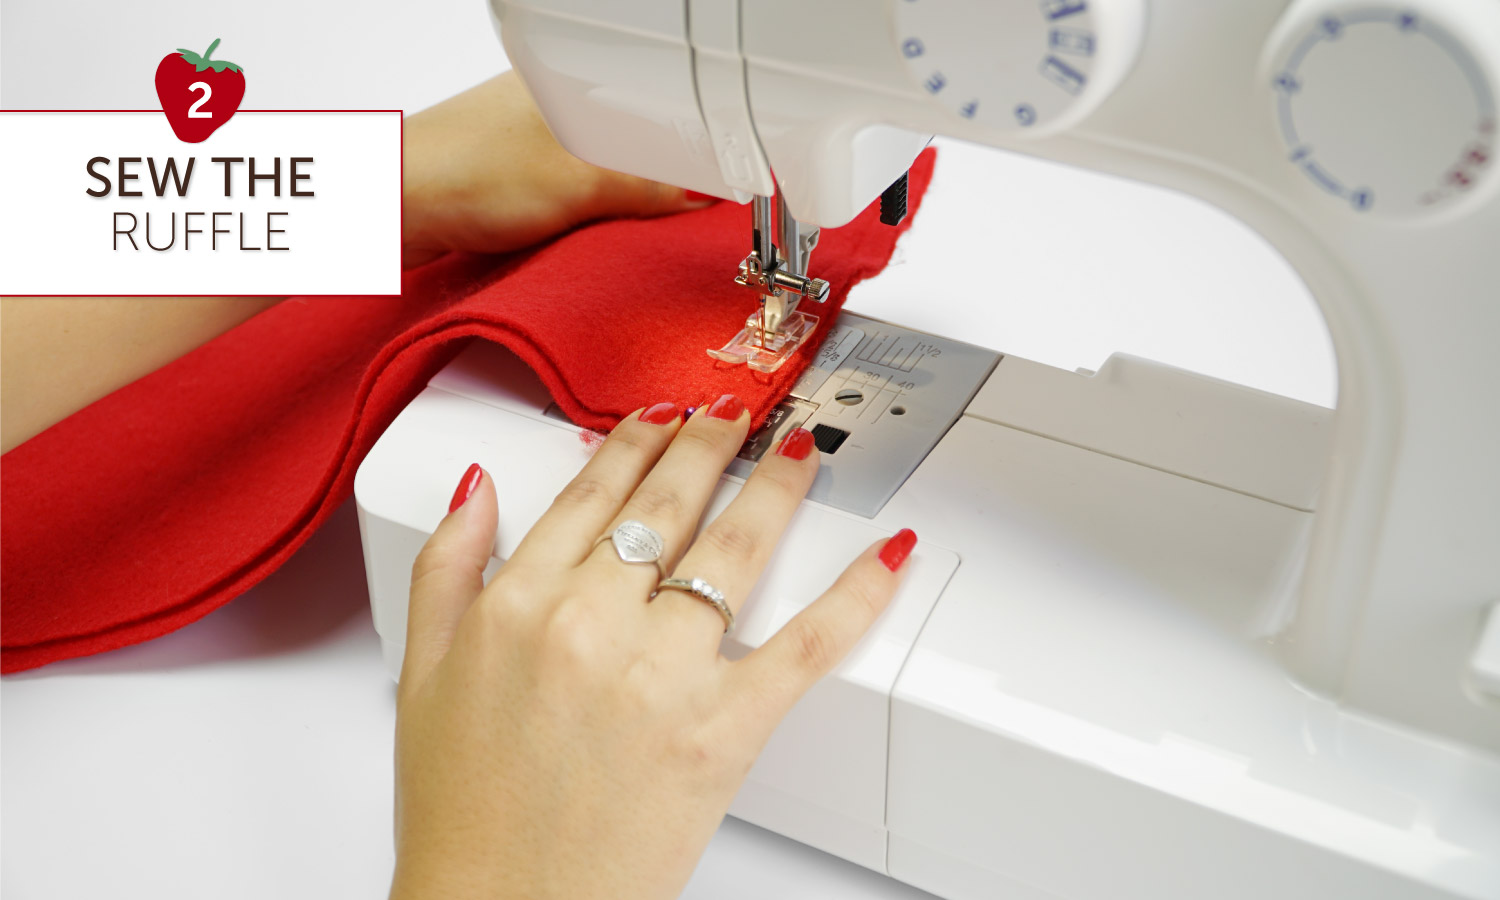
Step 2: Sew the ruffle pieces together.
Sew ruffle pieces together at the sides, right sides facing in. Use a ½ inch seam allowance.
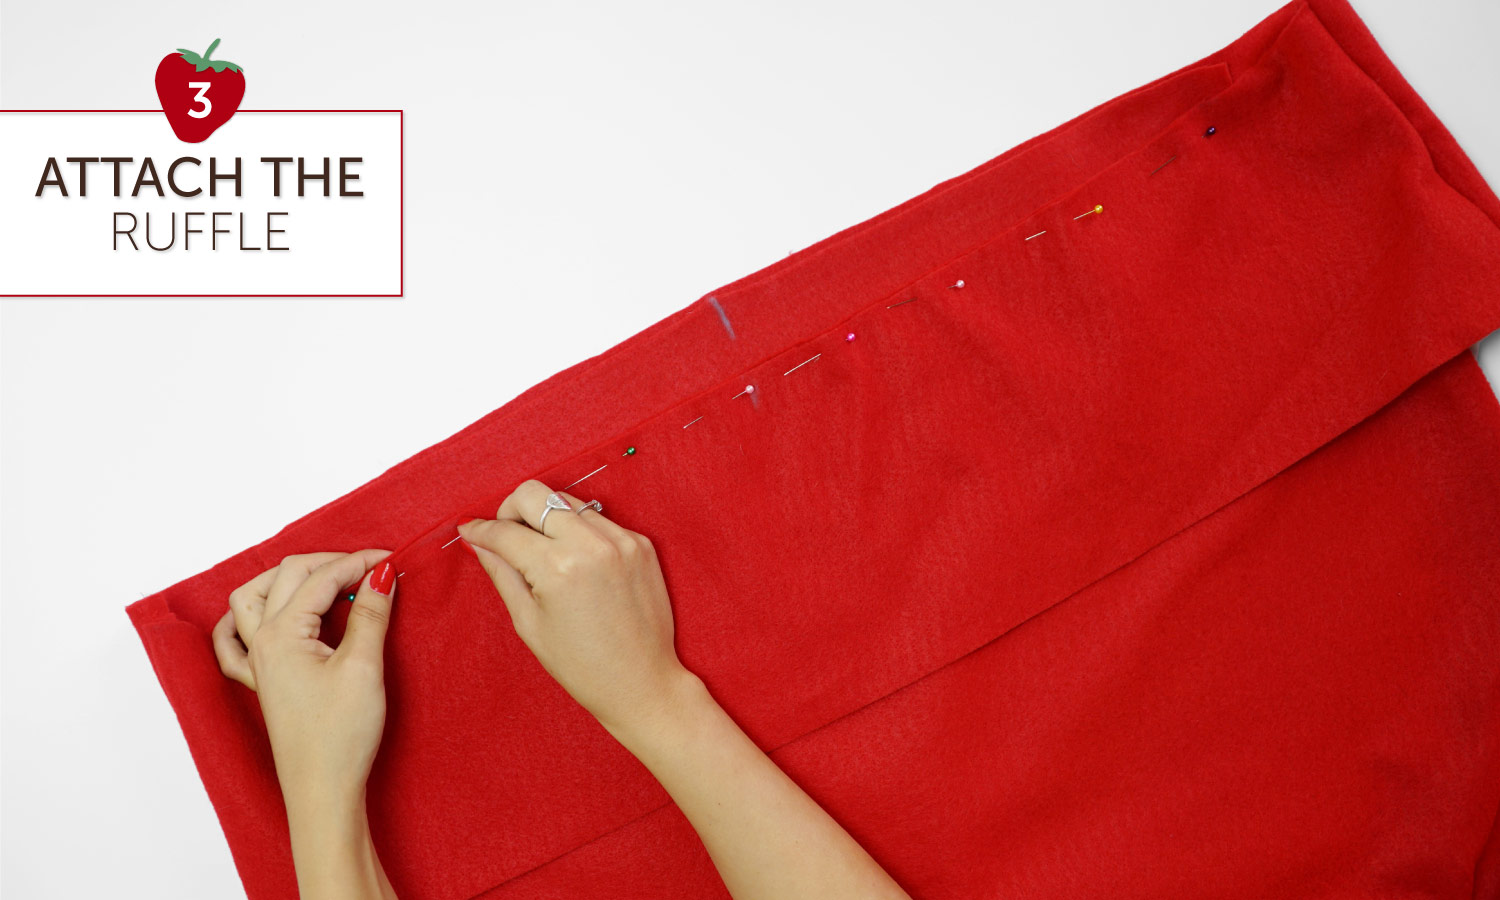
Step 3: Attach the ruffle to the body piece.
Turn the ruffle piece and body piece right sides out. Mark the center points of the front and back ruffle pieces and front and back body pieces. Align the fabric, with the body pieces inside the ruffle pieces. Pin the top of the ruffle to the top of the body piece at the centers and bottom to bottom. Sew together.
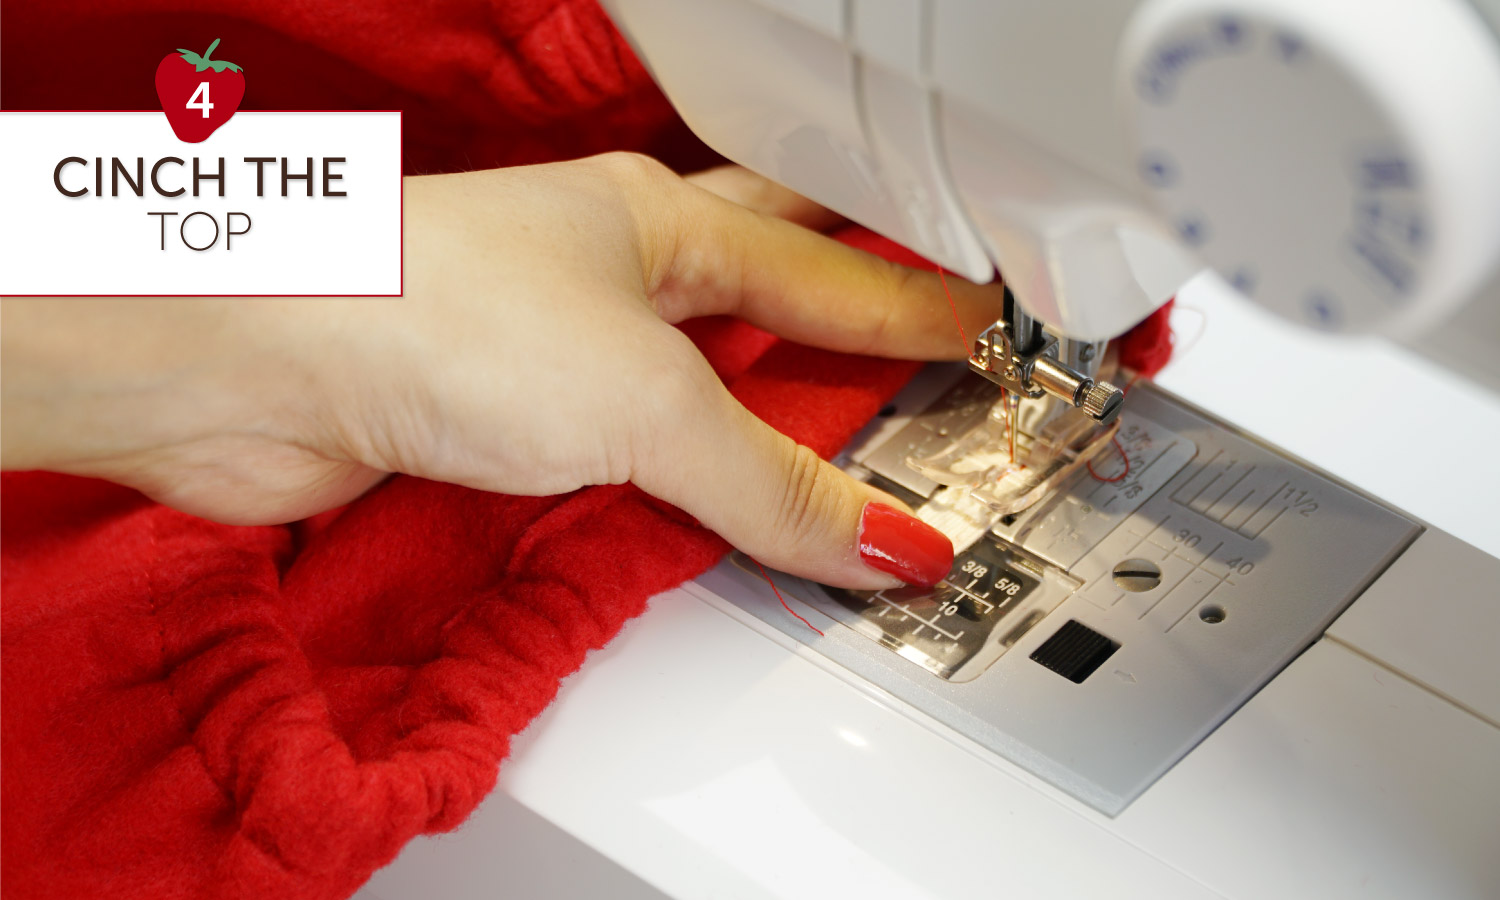
Step 4: Cinch the top.
Turn the fabric right sides in again. Fold the fabric over one inch at the top and sew, leaving a two inch gap open so you can thread the elastic through. Measure a piece of elastic six inches less than the distance around your shoulders. Thread through using a safety pin. Sew both sides of the elastic together and try on for size to make sure the top fits correctly. Then, sew the remaining two inches closed.
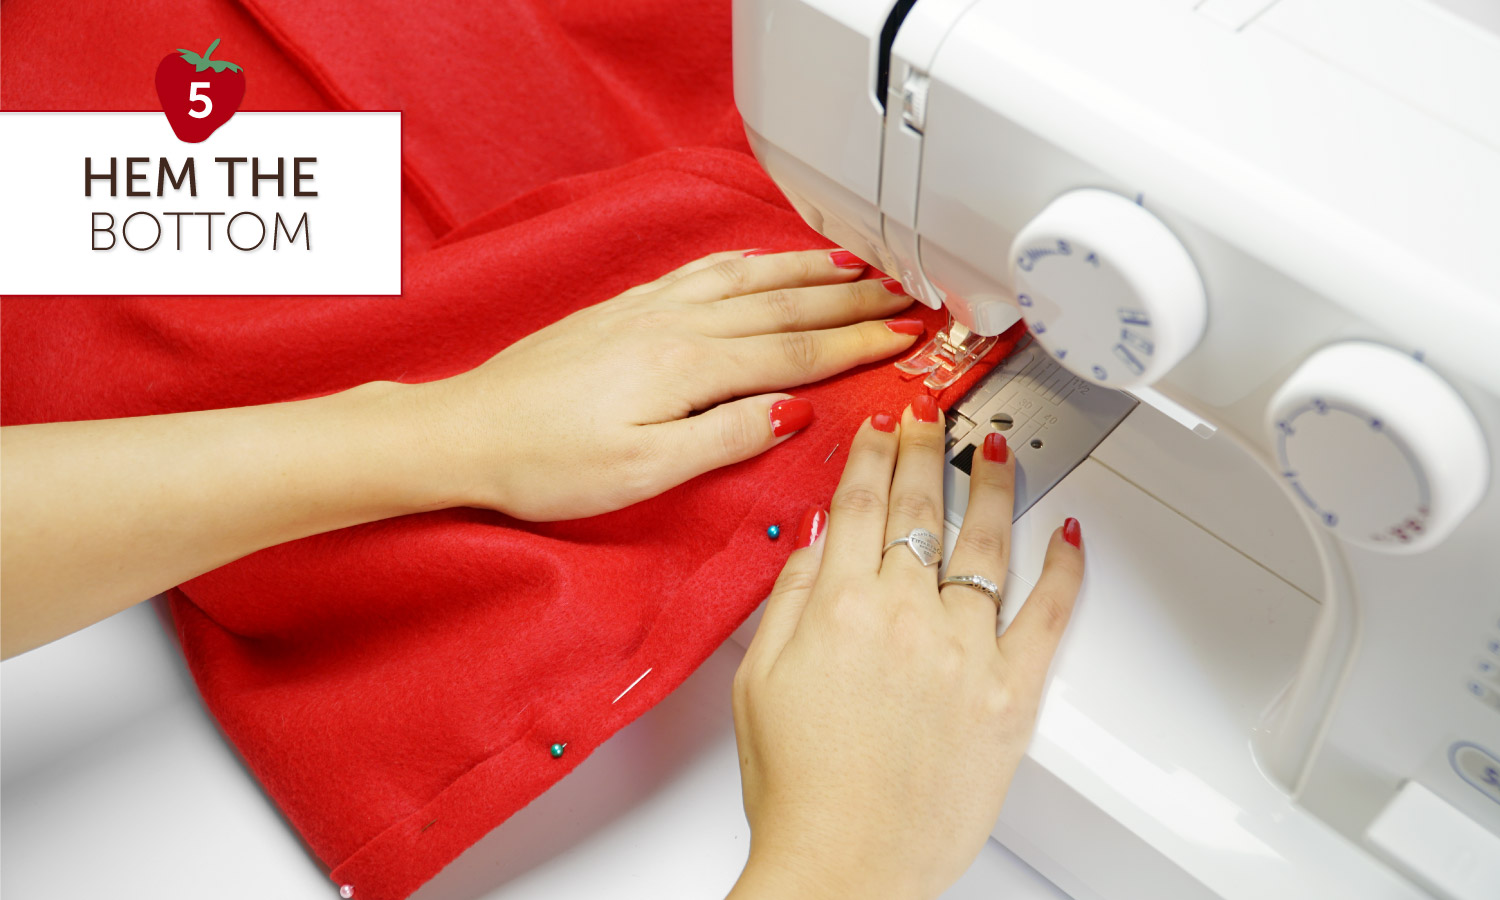
Step 5: Hem the bottom of dress.
Right sides in, fold the bottom of the dress up one inch and sew.
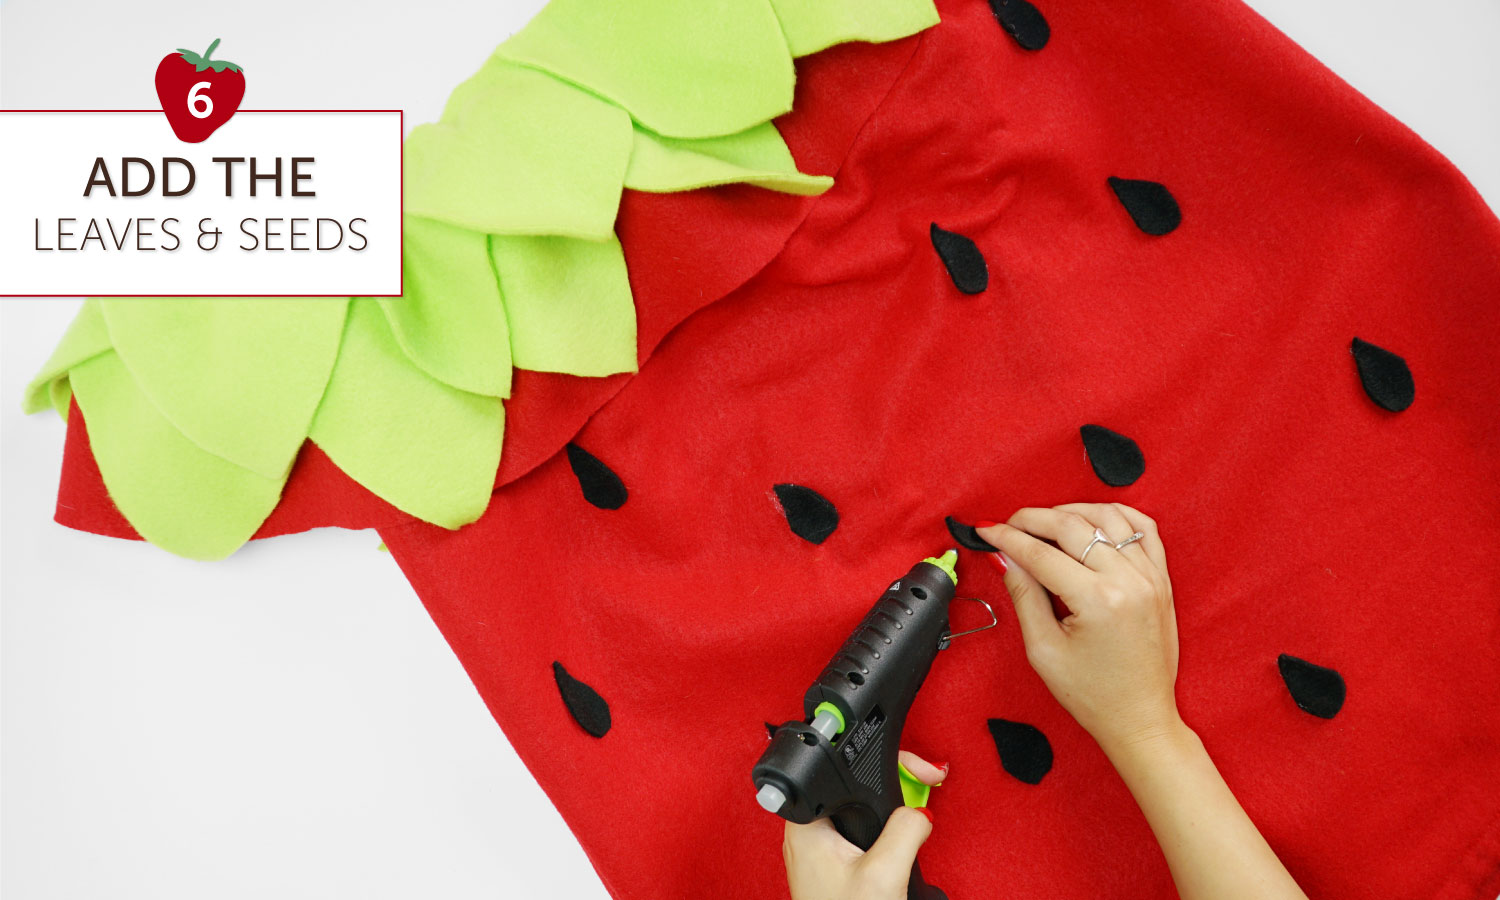
Step 6: Add leaves and seeds.
Glue leaves and seeds to dress using a hot glue gun.
Strawberry Costume DIY for Dogs
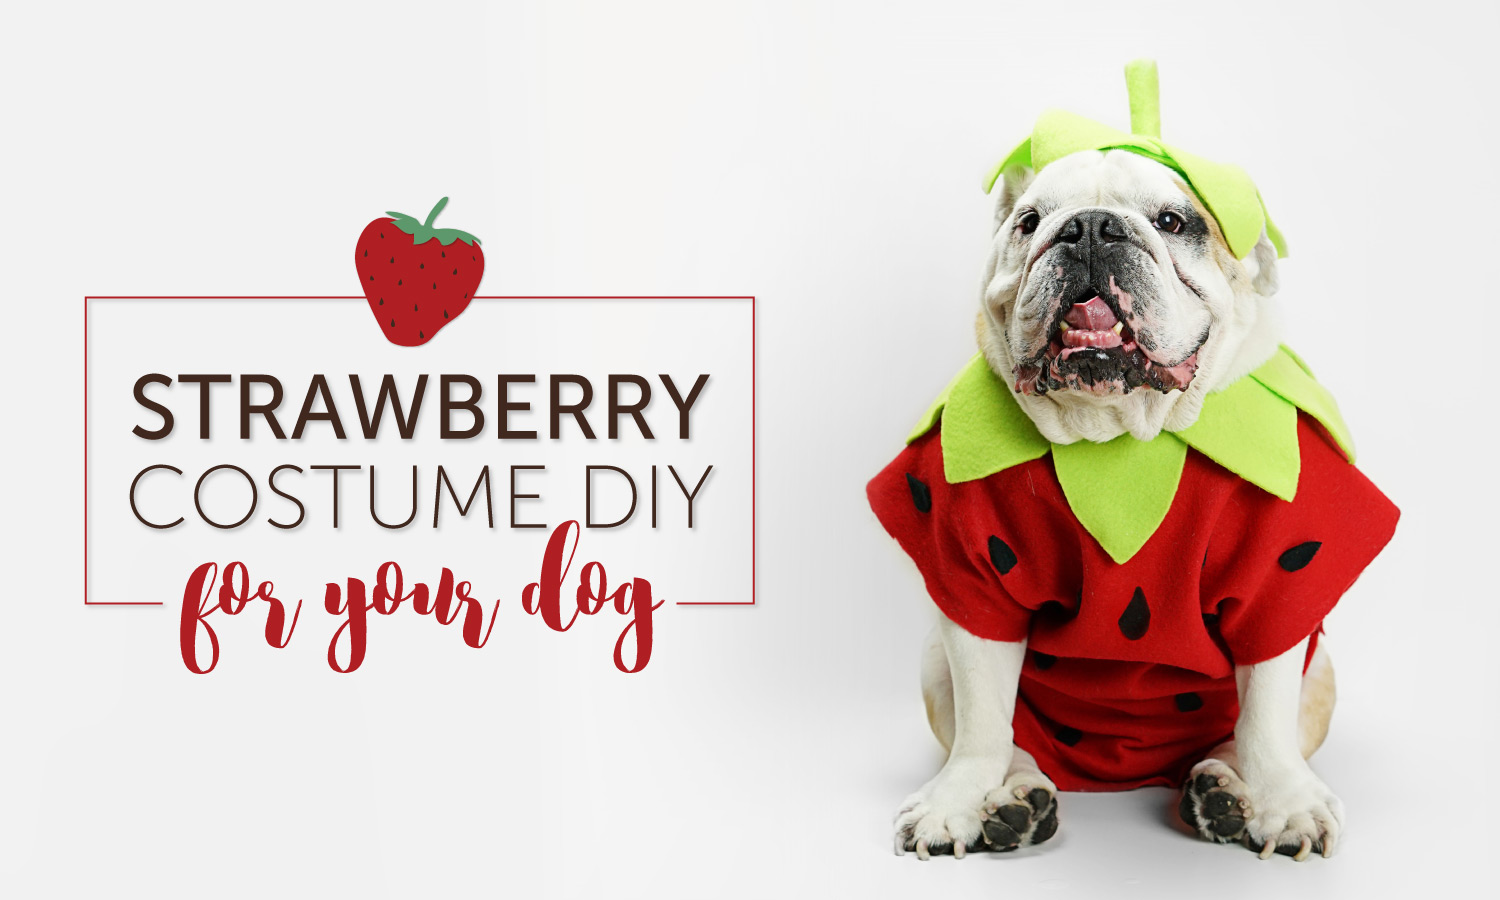
Now, the moment you’ve all been waiting for: the DIY strawberry costume for man’s (and woman’s) best friend. The great thing about this pattern is that it’s easy to adapt to dogs of all shapes and sizes and is a great starting point if you’re trying to make your dog a costume.
Materials
- Red thread
- Green thread
- Red felt
- Bright green felt or fleece
- Black felt or fleece
- ⅜ inch elastic
- Velcro
- Sewing machine
- Hot glue gun
- Fabric scissors
- Measuring tape
- Tailor’s chalk
- Pins
Pattern
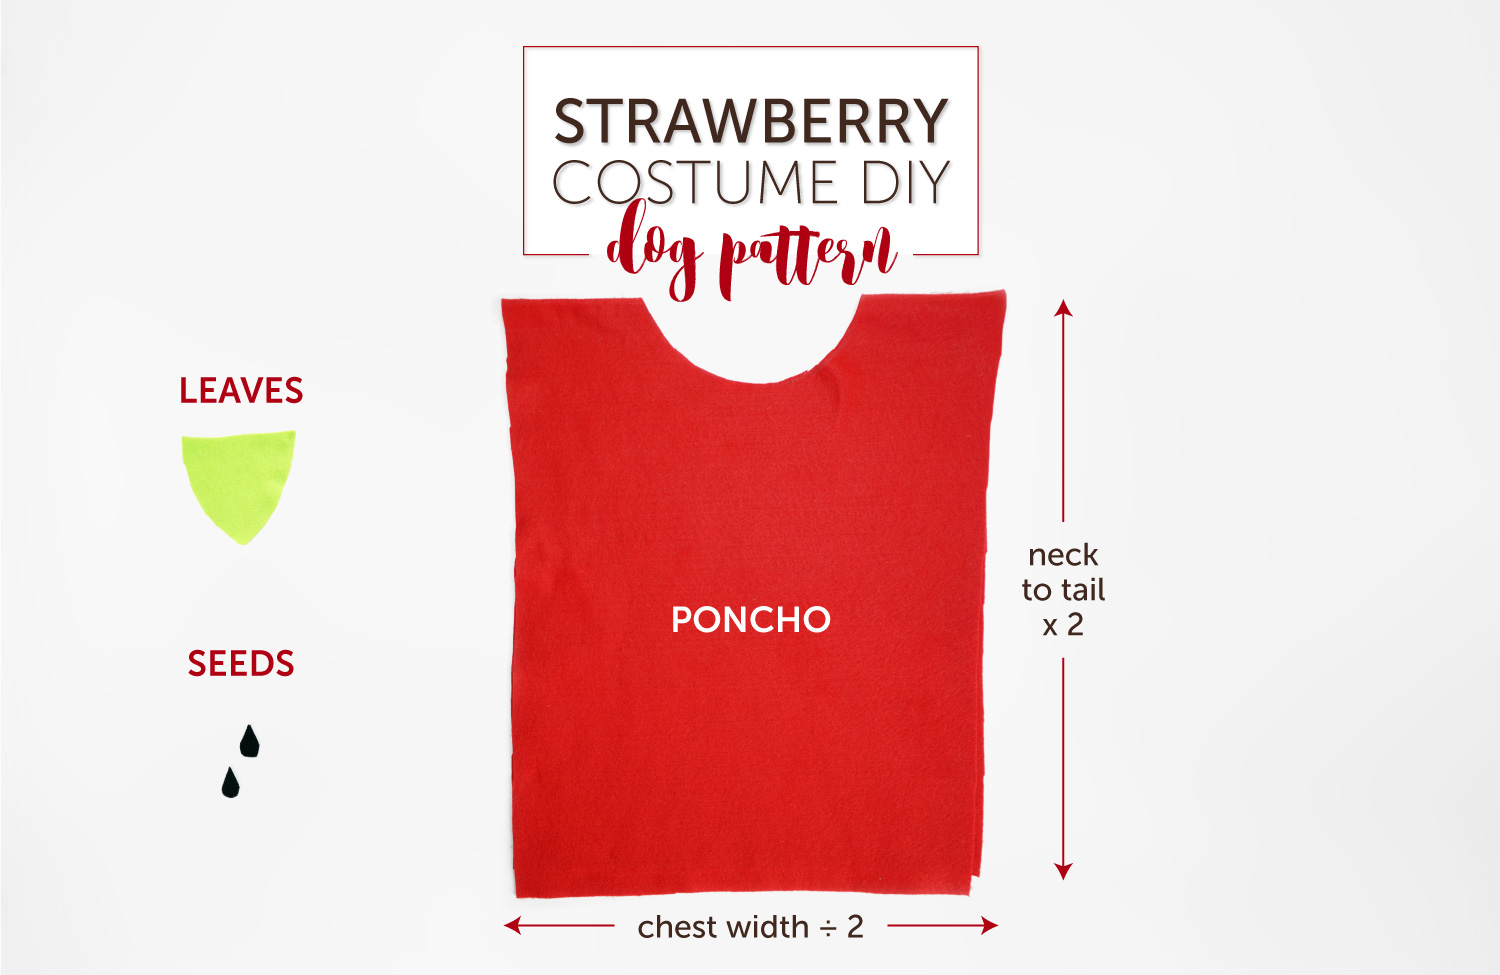
Length: Measure your dog’s length from neck to tail. Multiply this by two. This will be the length of your fabric.
Width: Measure the distance around your dog’s widest point (typically their stomach). Divide the distance around their widest point by two and add four inches. This will be the width of the fabric.
Place the costume on your dog and mark where excess fabric should be cut. Cut the excess fabric off the bottom and top, tapering the costume into a strawberry shape.
Directions
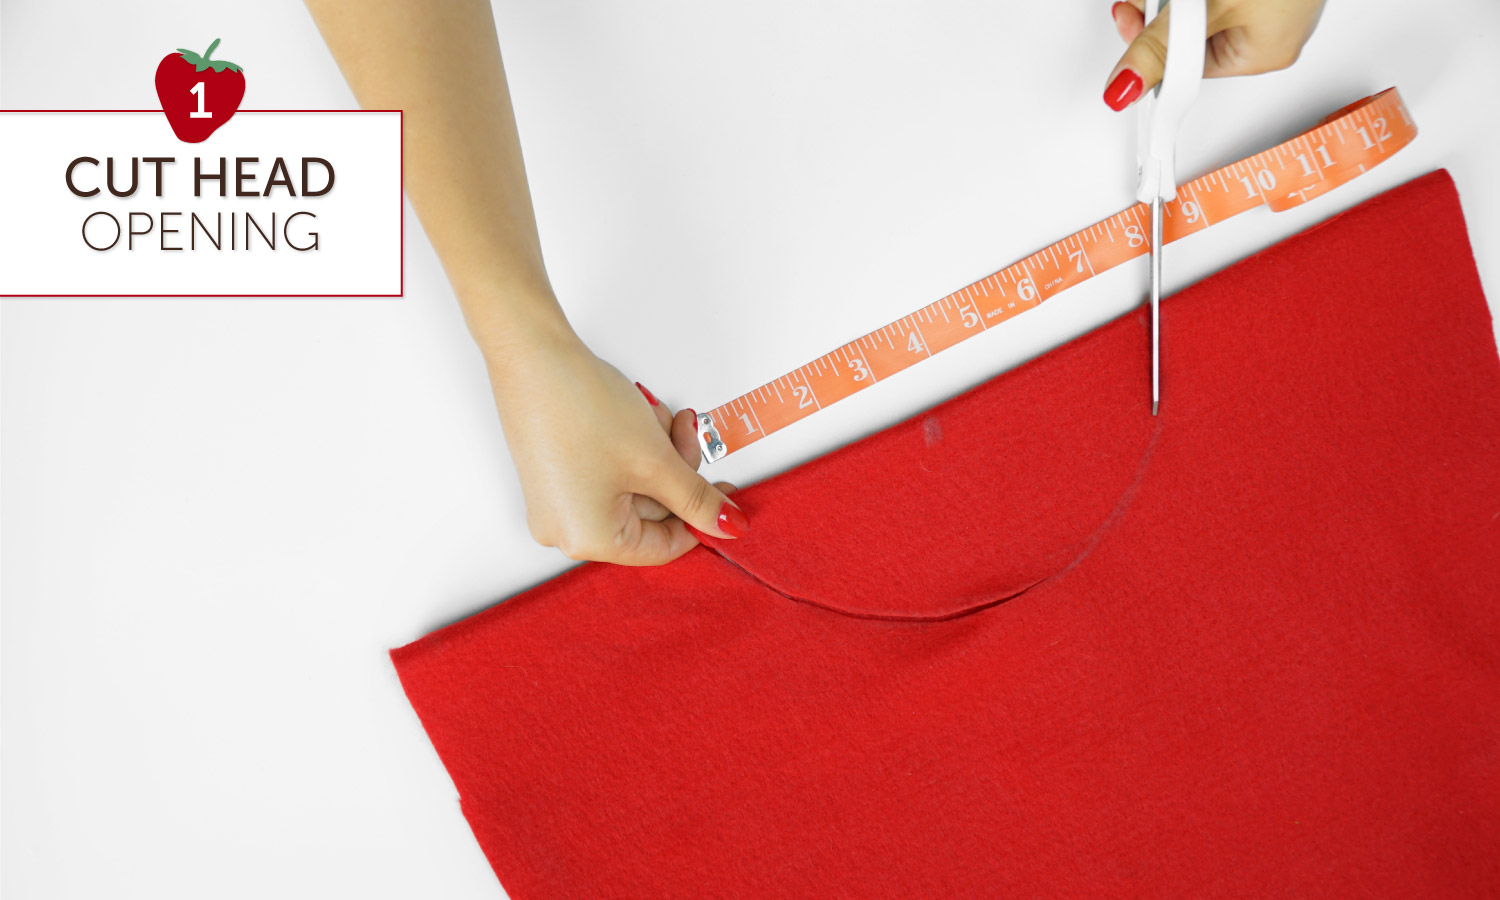
Step 1: Cut head opening.
Measure the distance around the dog’s head or neck (whichever is larger). Find the circumference by dividing this distance by 3.14 (or 𝝥), then add one inch to this measurement to make sure it fits over the dog’s head. You will use this number to determine how large the head opening needs to be. Fold the fabric in half lengthwise. On the closed end, mark the length of the circumference with tailor’s chalk in the center of the fabric. Cut a semicircle from the two anchor points.
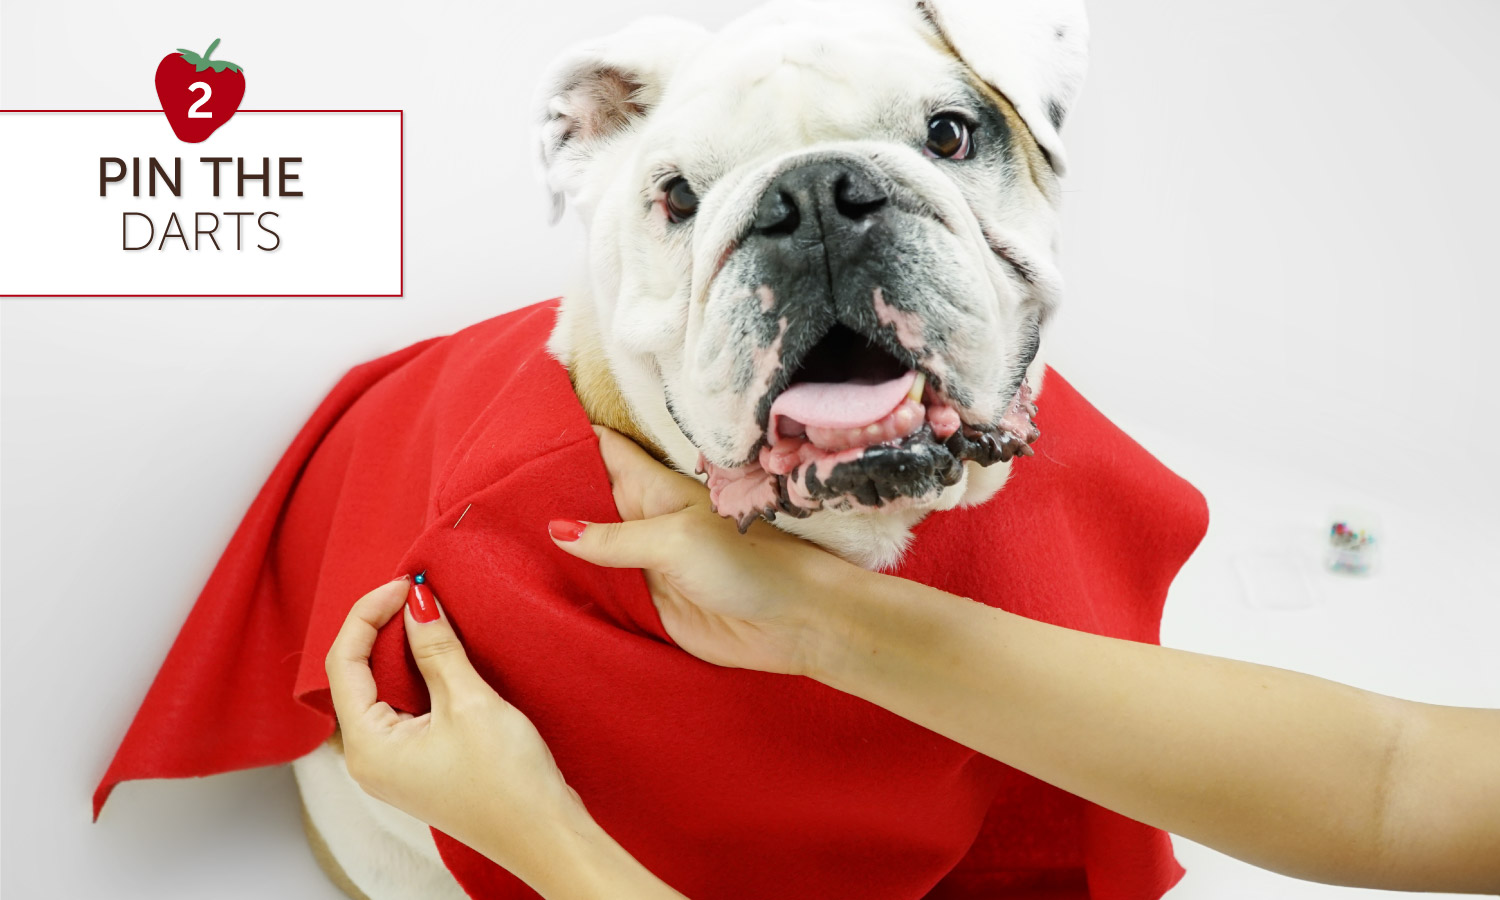
Step 2: Try on and pin where darts should be added.
Try the costume on your dog. To avoid the fabric sticking out at the shoulders, you can add darts at the shoulders. Fold where the darts should be added and pin.
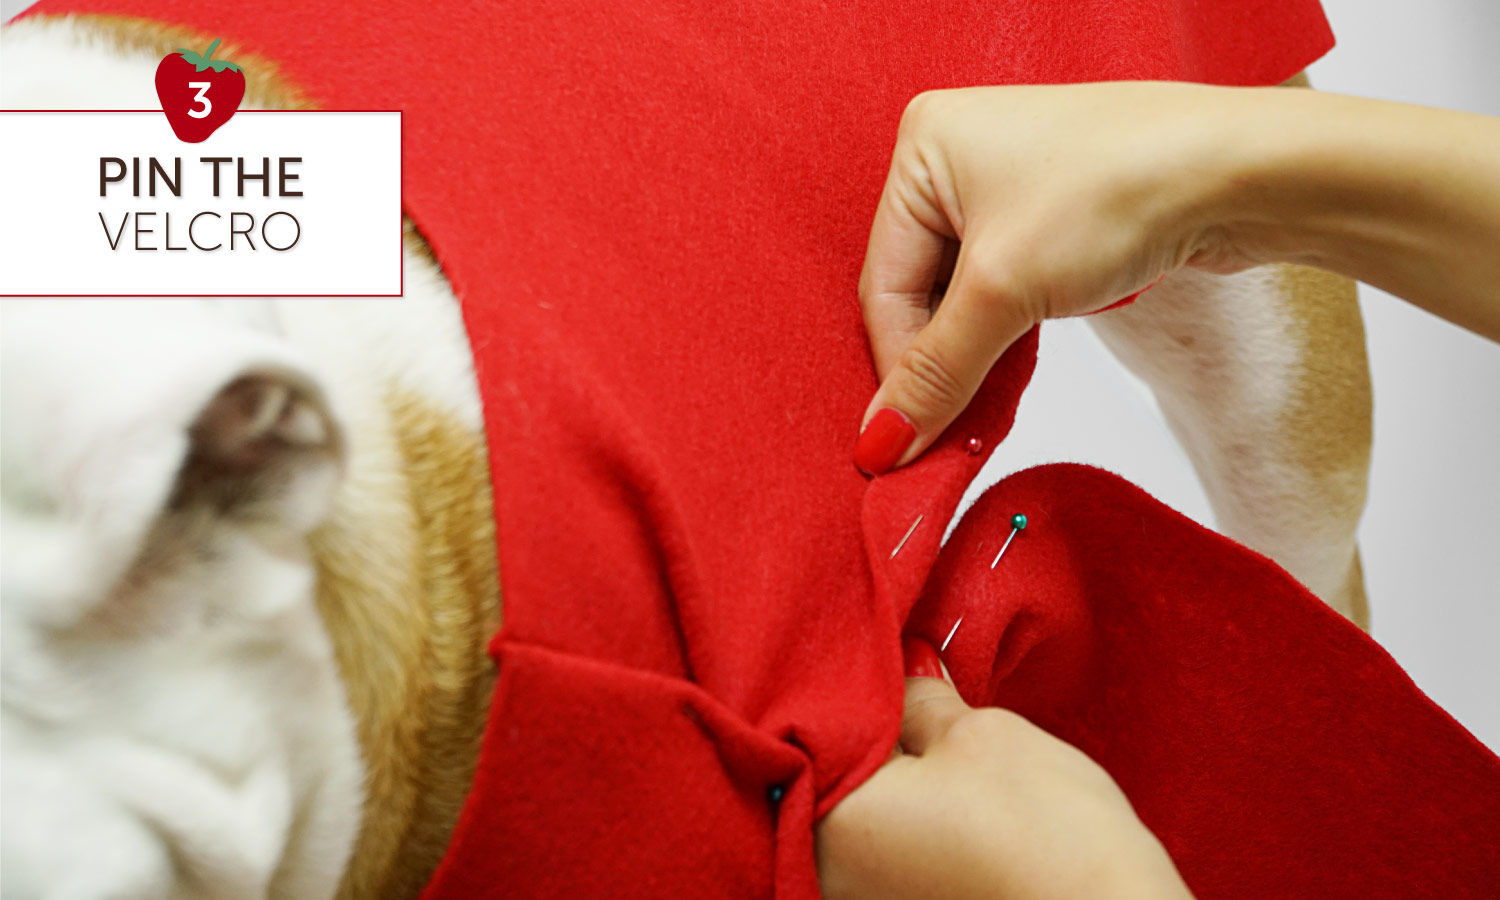
Step 3: Pin where the velcro should be added.
Hold the top and bottom pieces together at the sides and pin where you’d like them to be connected with velcro. We used two pieces on each side, but you can use more for extra stability or use one long piece that runs the length of the side.
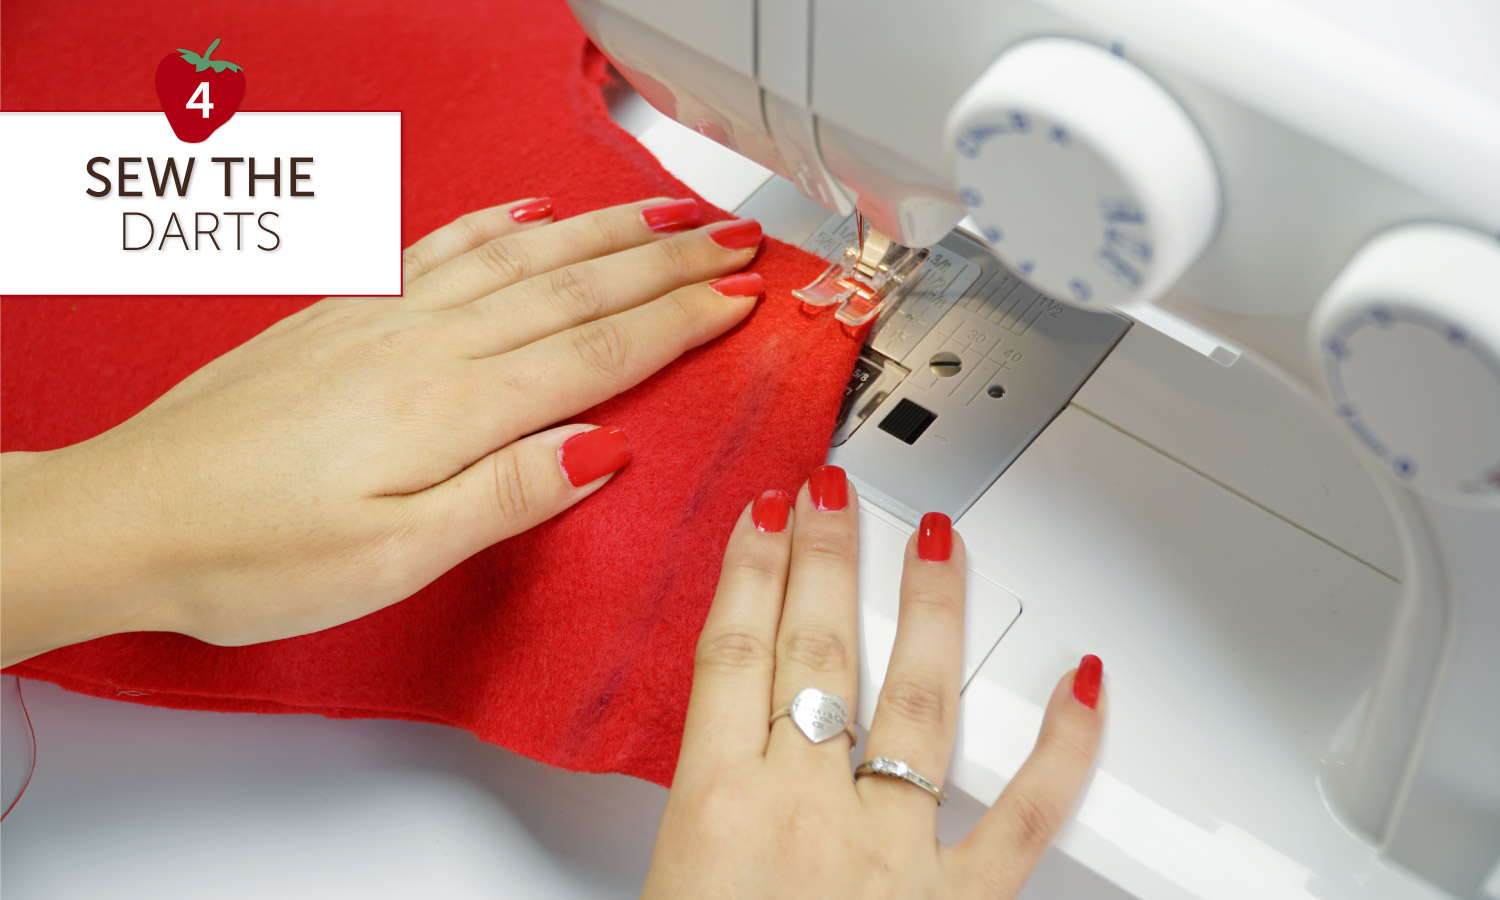
Step 4: Remove costume and sew darts.
Right sides facing in, sew an angled line downwards based on how much fabric you pinned. This will keep the fabric from bunching at the shoulders.
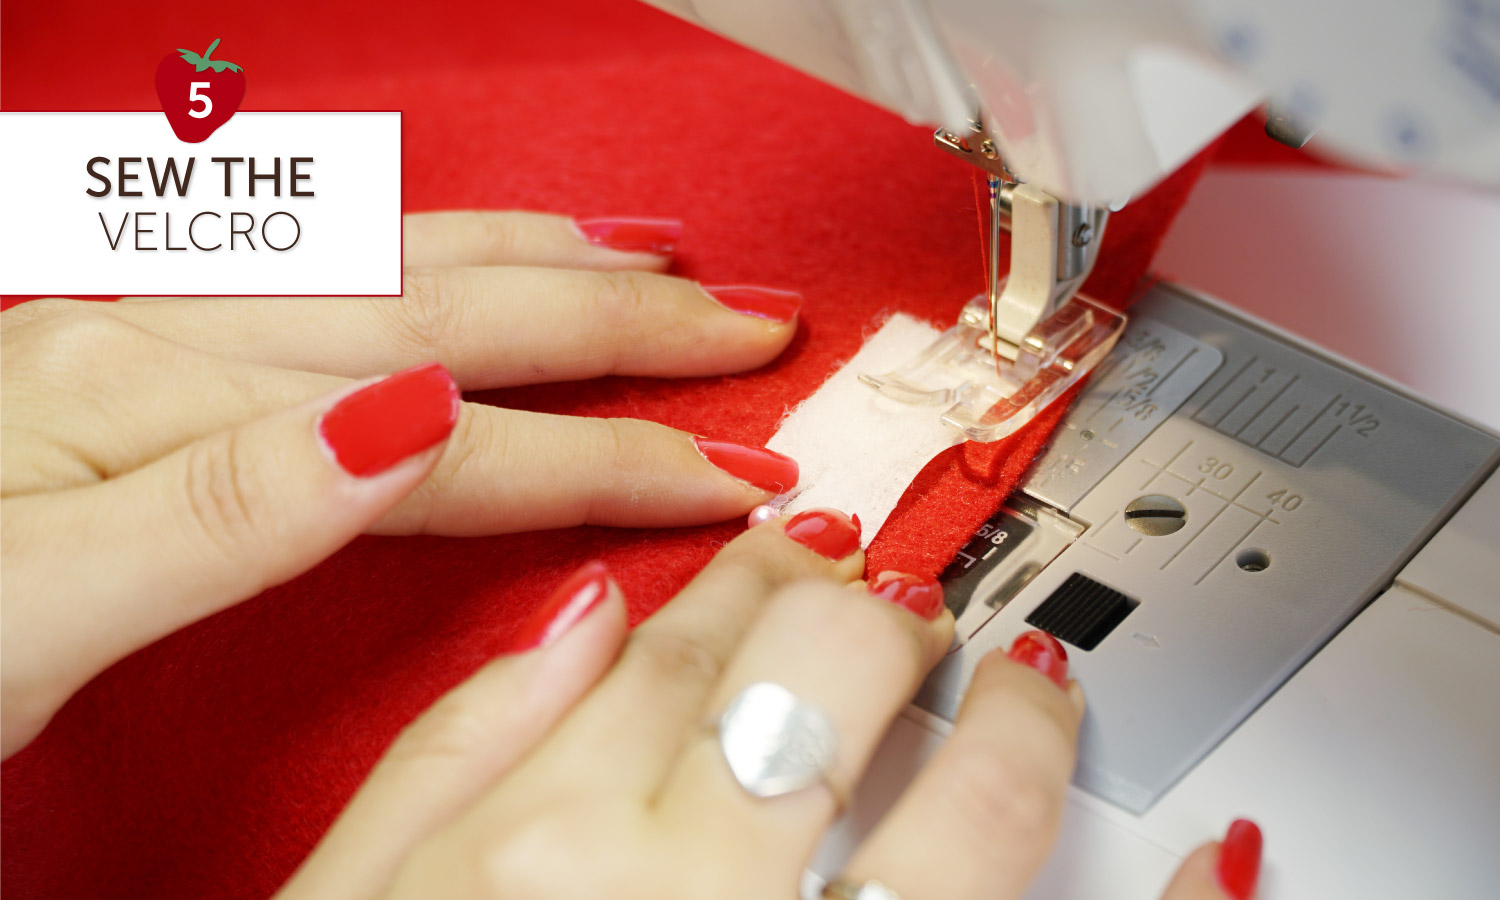
Step 5: Sew on velcro.
Sew velcro where the pins are placed. We used the boy side on the top piece of the costume and sewed it to the wrong side (side facing the dog). We used the girl side on the bottom piece of the costume and sewed it to the side facing away from the dog.
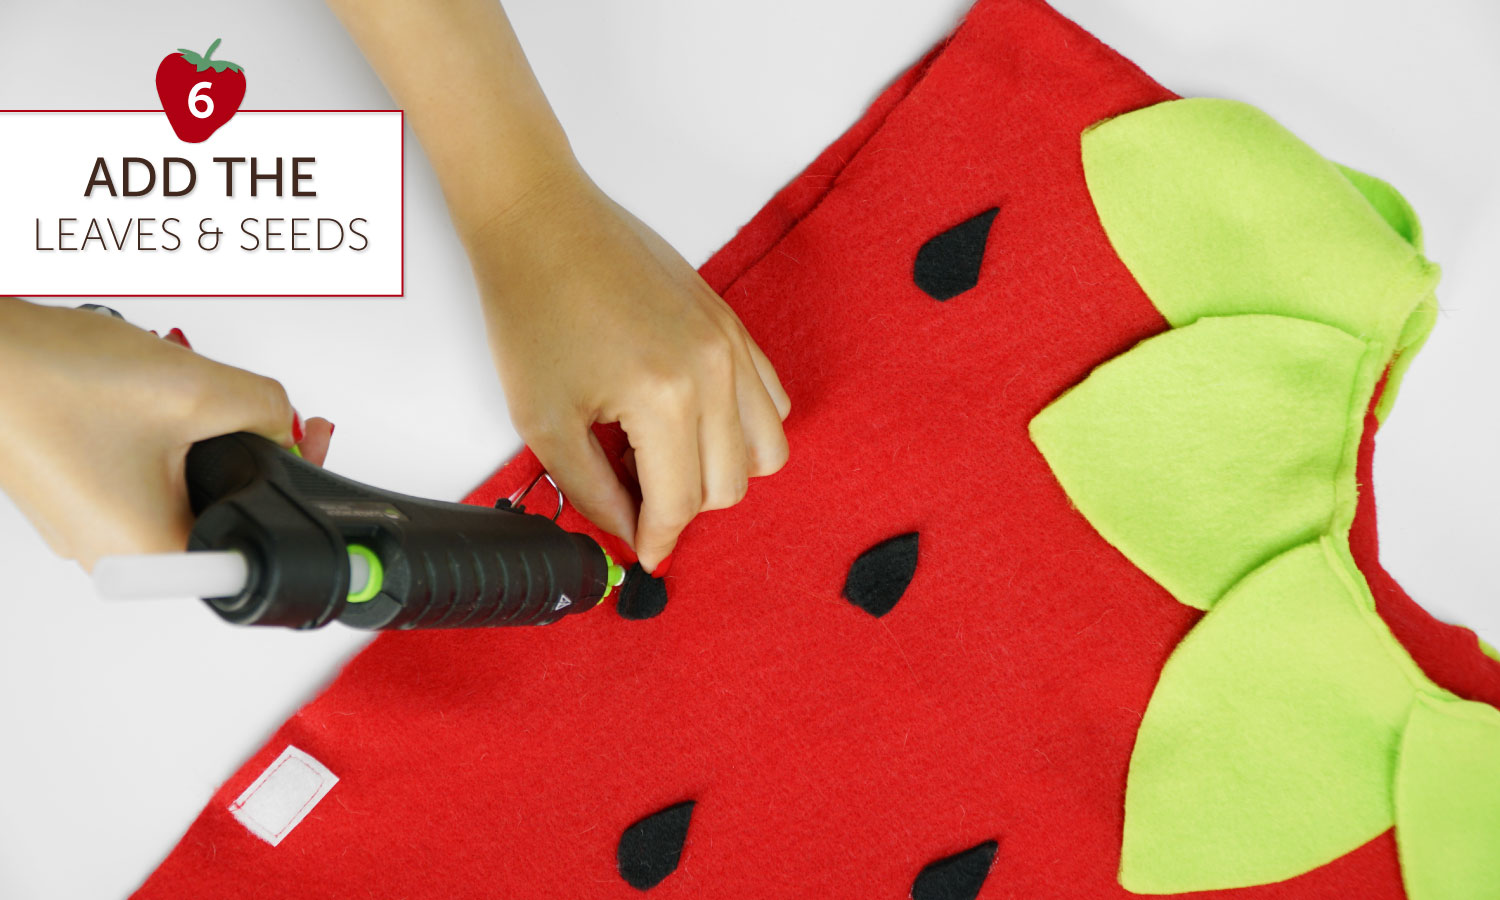
Step 6: Add leaves and seeds.
Cut leaves out of green fabric and seeds out of black fabric. Sew or glue onto the costume.

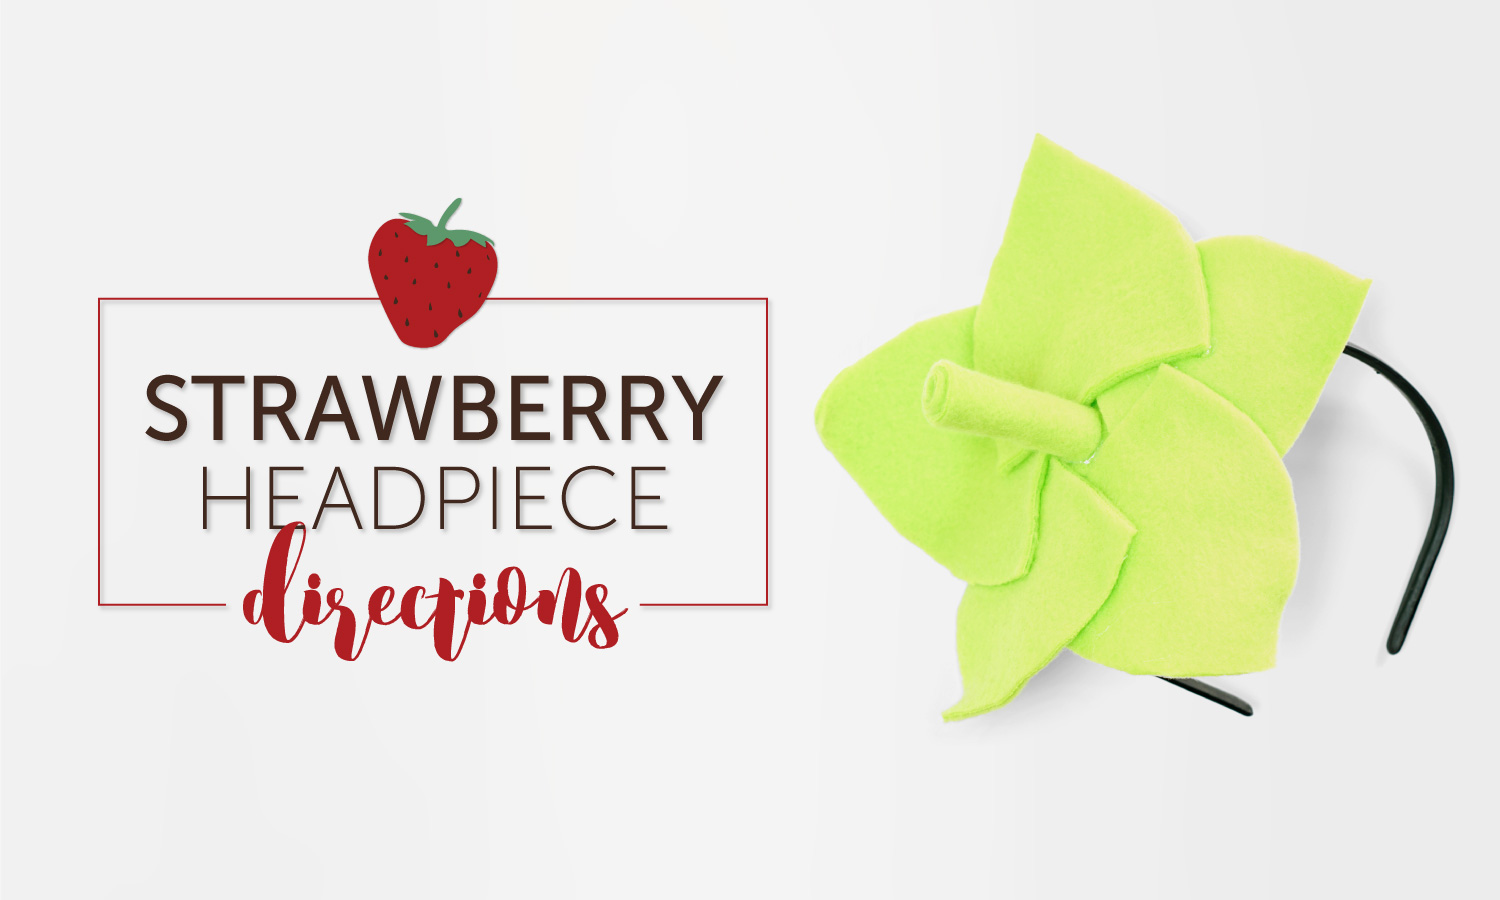
Once you’ve made your strawberry costume, it’s time to craft the headpiece to tie it all together! Add green leaves and a stem to either elastic or a headband to complete your strawberry outfit.
Materials
- Headband or elastic
- Bright green felt or fleece
- Fabric scissors
- Hot glue
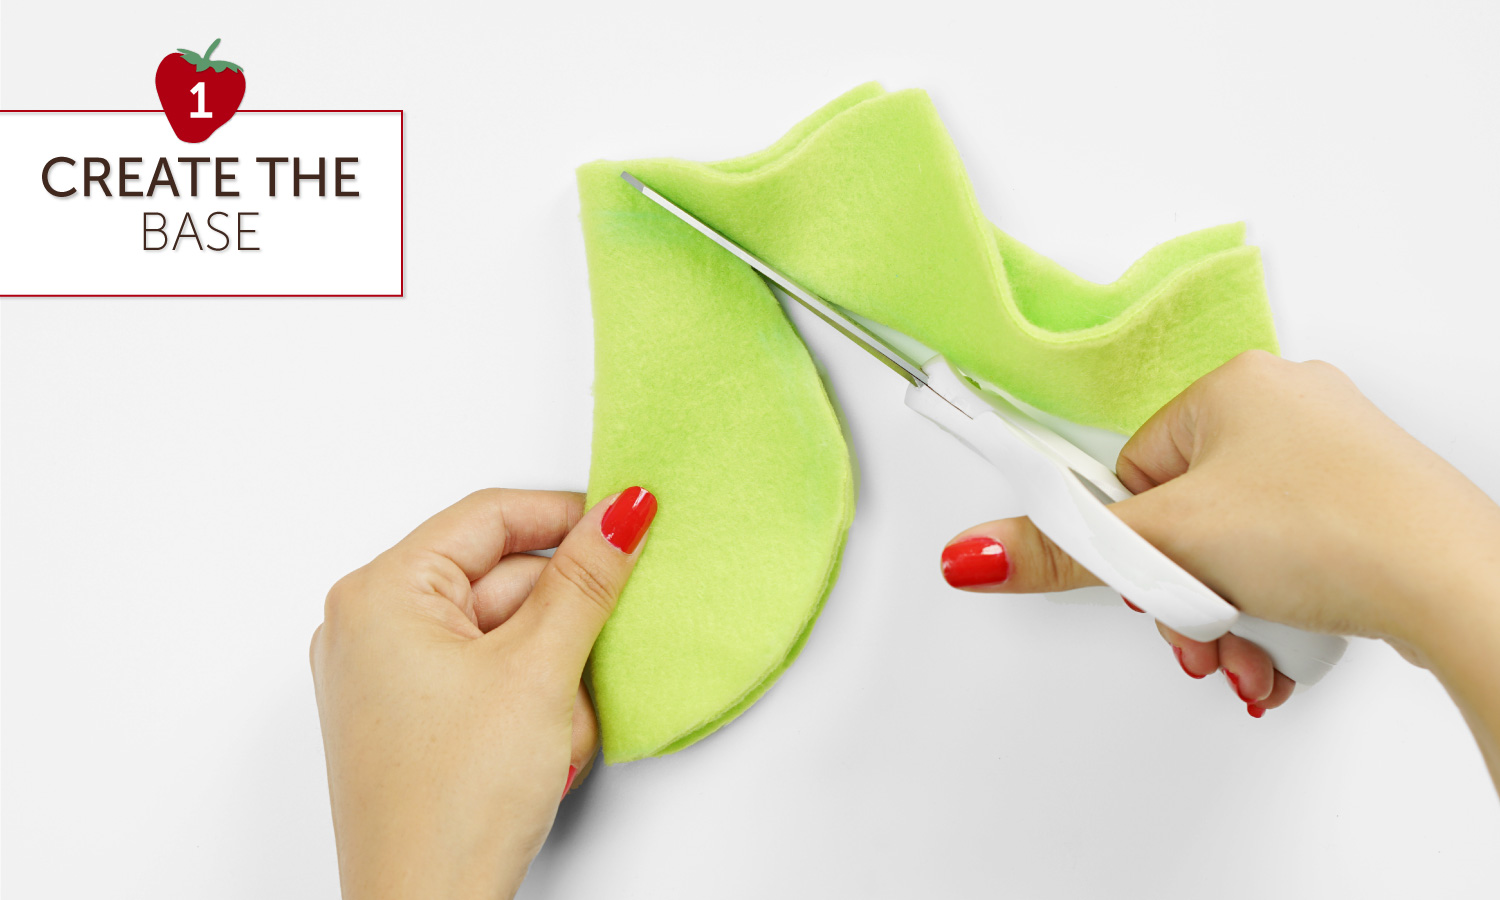
Step 1: Create the base.
Cut a circle from bright green felt.
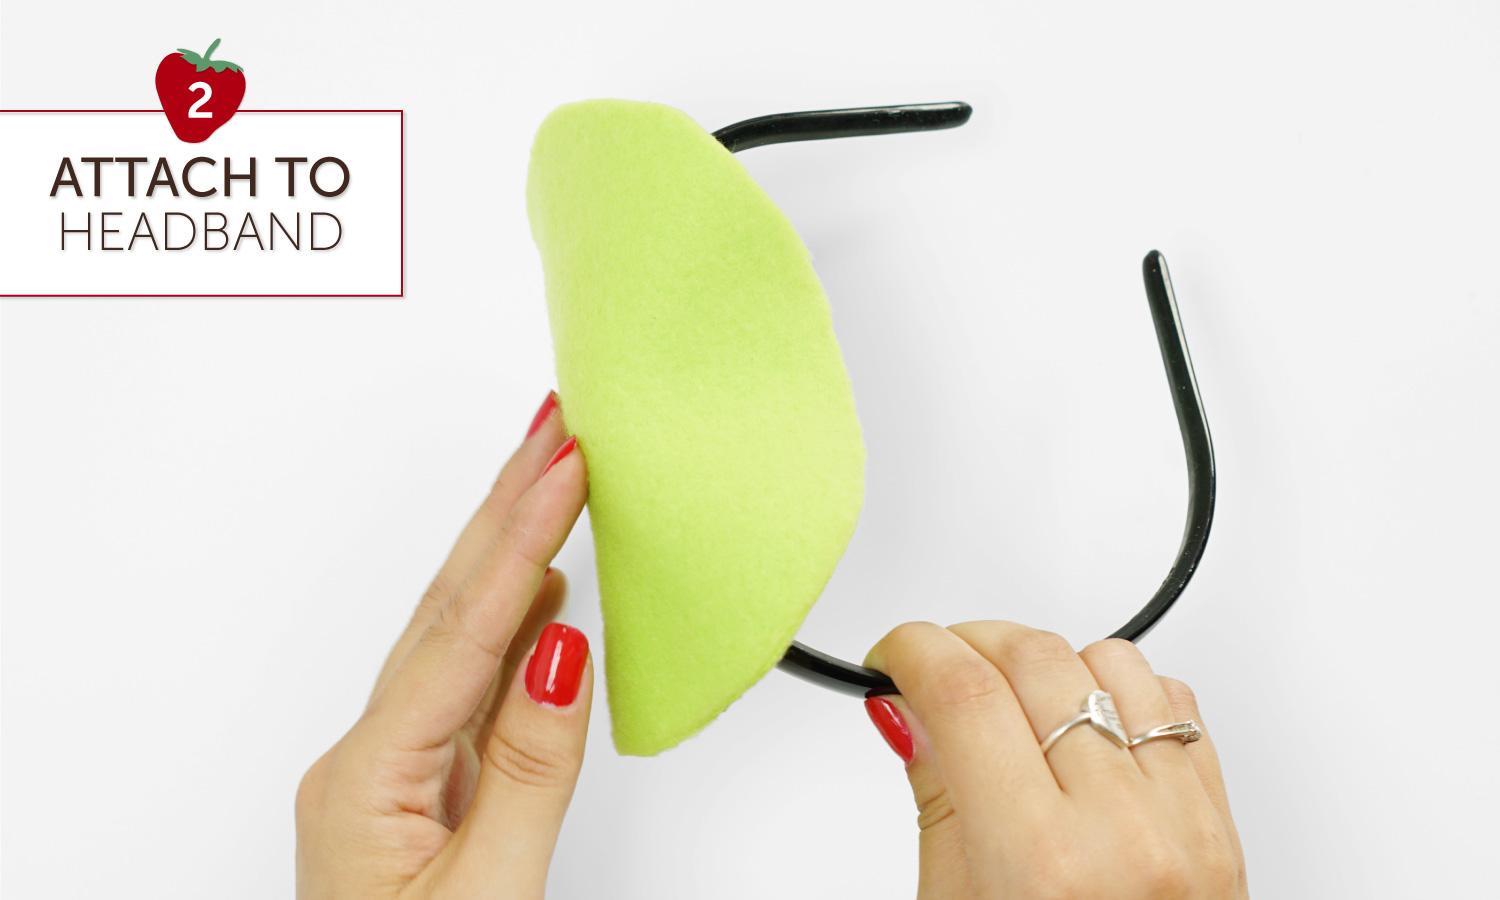
Step 2: Attach to headband or elastic.
Sew or glue the base to a headband or elastic.
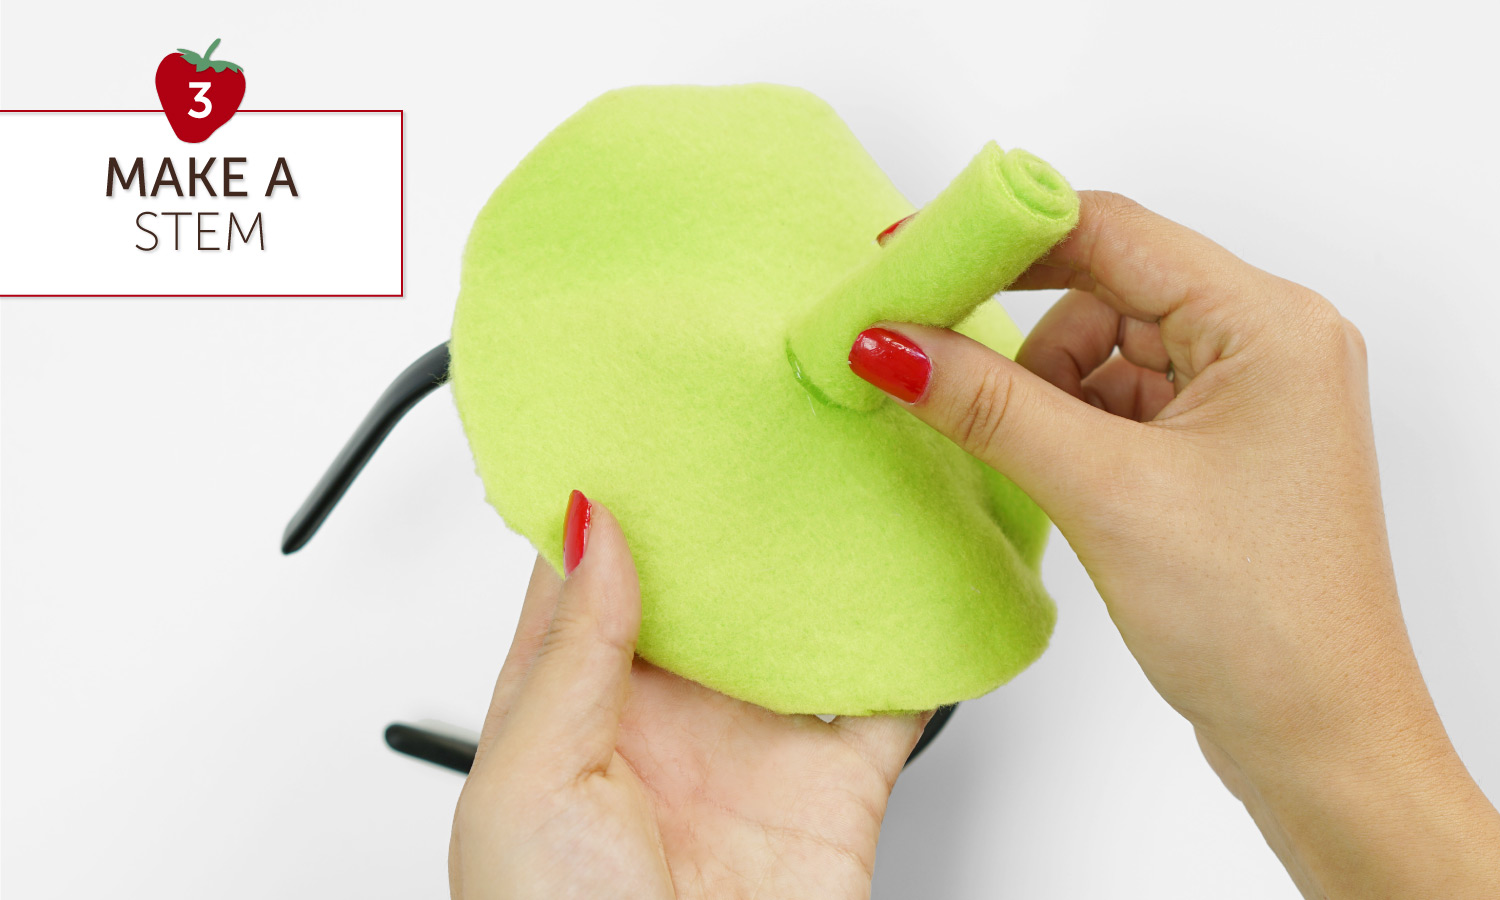
Step 3: Make a stem.
Roll up a piece of green felt, gluing it together to secure.
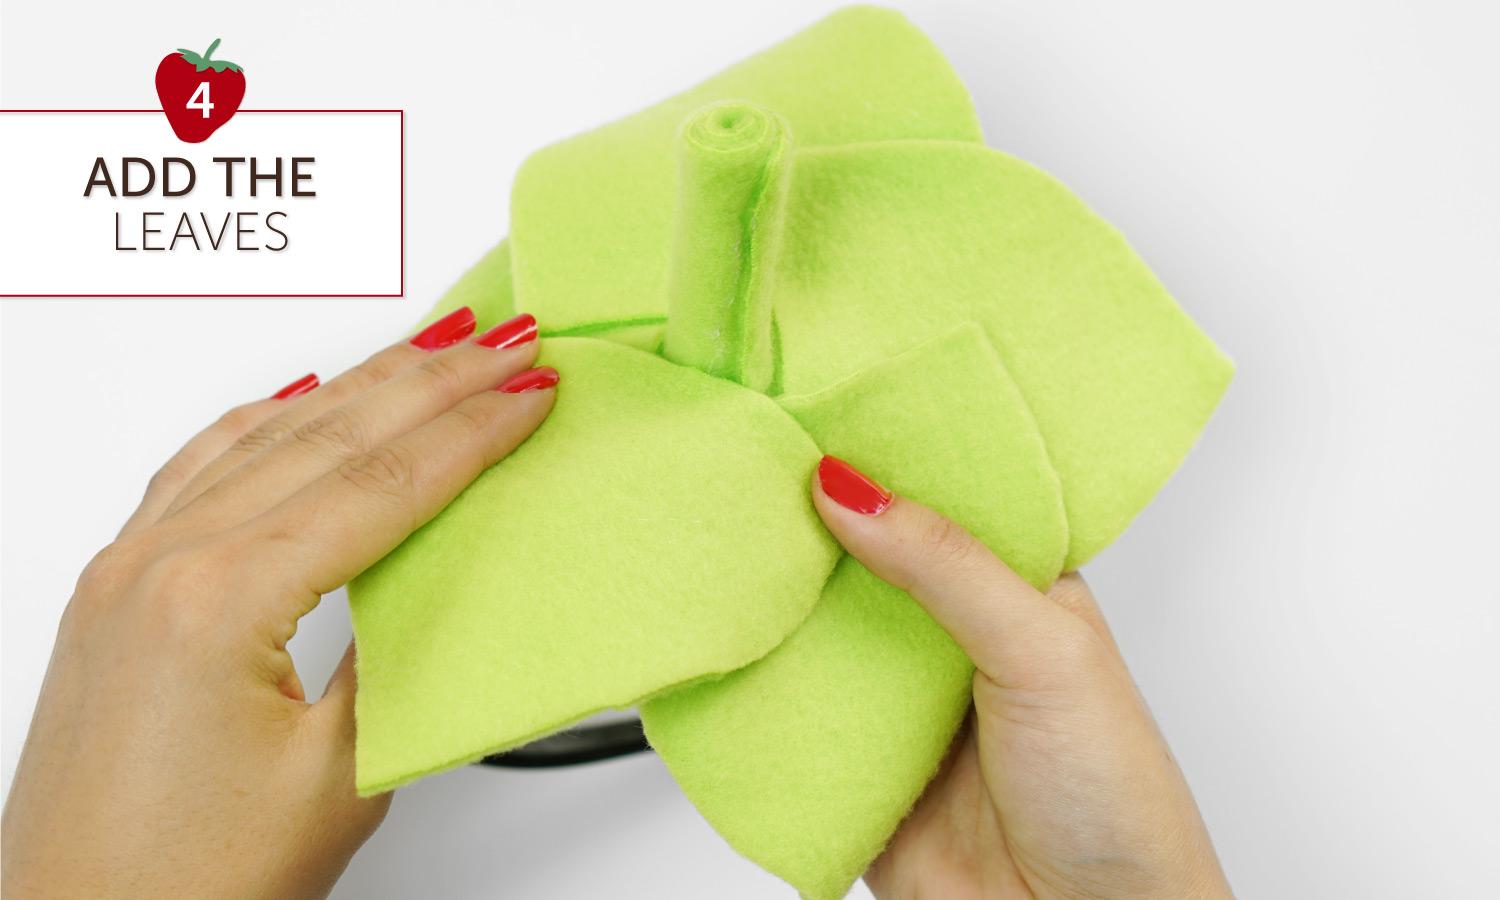
Step 4: Cut out leaves and glue to base.
Cut leaves out of green felt. Glue to the base and finish by gluing the stem.
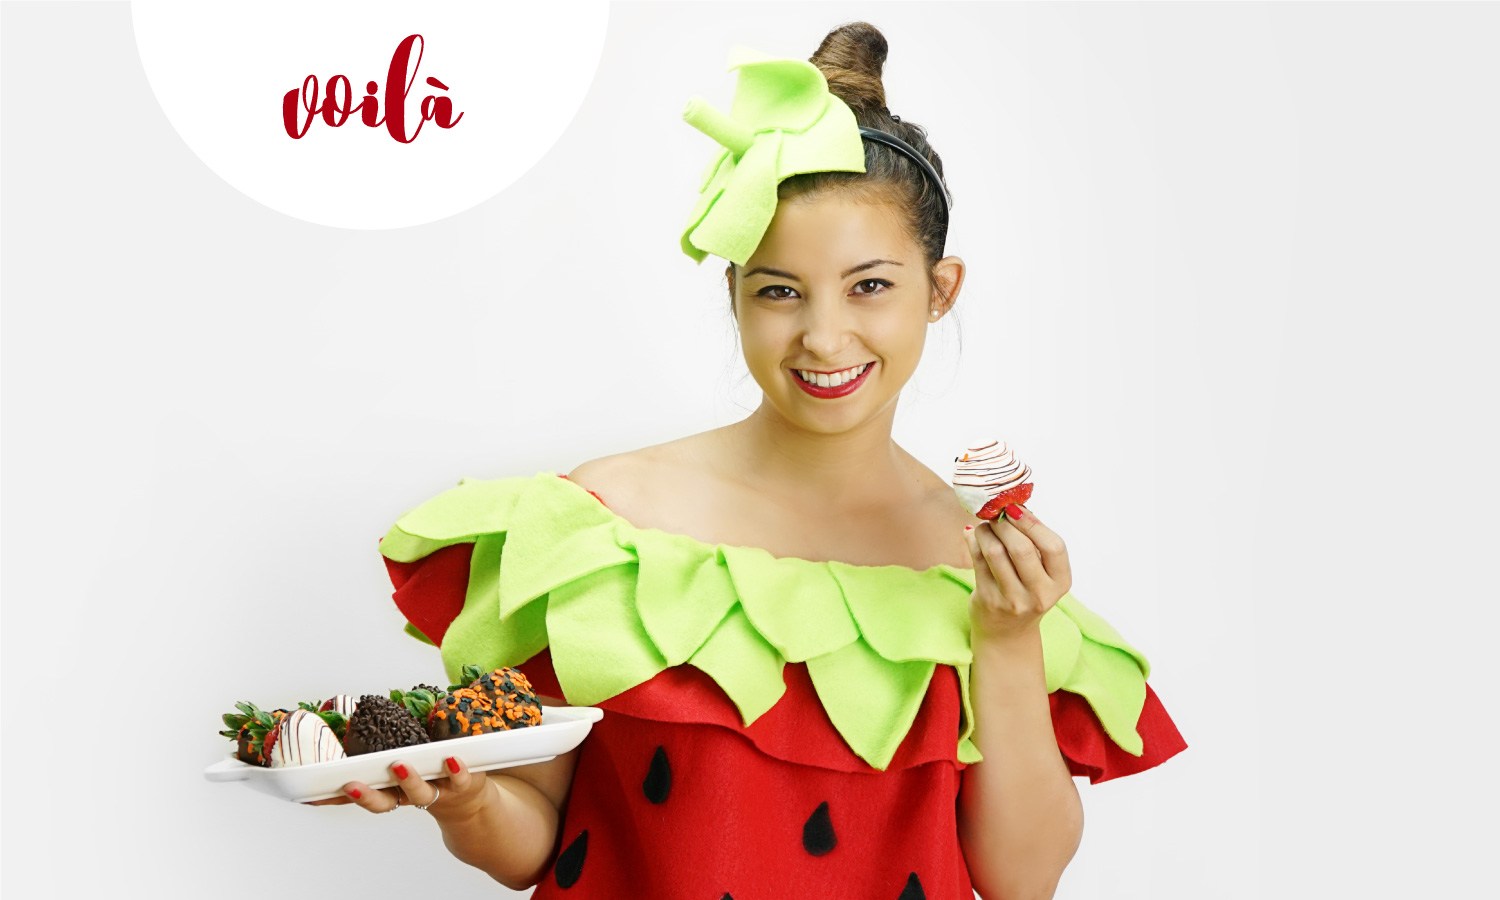
Now that you have your Halloween costume all figured out, it’s time to plan what treats you’ll be eating! Match your costume with some sweet dipped strawberries, or get in the Halloween spirit with ghoulish cake pops.


